Those of you that have been following this blog for a while will know that for many (many) years I have been using Silver eEFex Pro (part of the Nik Collection, now by DxO) to produce my Monochrome images.
I’ve mentioned its use many times:
- Wicked Little…. Monochrome’s
- DXO / NIK Suite
- Just Working: Frightfest
- NIK collection away for free (10 years ago!)

I have created custom presets for Red Carpet and other subjects that have been tweaked over the years (for example I have presets named Cannes, Cannes 24, Cannes 25) that all have the same basis but slight tweaks to suit either the way my shooting style has changed, or the look I wanted that year.
In all of these presets, the heavy lifting Is done by the contrast section, with particular emphasis on the Soft Contrast slider (with relief given by adjustments to the Tonality Protection sliders).
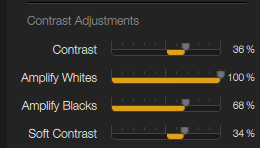
I have been criticised by others in the past for crunching my shadows and blowing out highlights but I have stuck with this style for over 10 years now, because, of course, I liked how they looked and I loved how they printed.
The look of my Red Carpet black and white images are distinctive and (I think) have become very recognisable as mine over the years (maybe for the wrong reasons, maybe for the right ones, who knows.)
The key is though I like how they look, how they print and, they do sell!
My bottom line has always been (and will always remain) that the emotional content, its feel is more important than the technical (the shadows & the highlights in this case).
However, I have always been slightly frustrated by a couple of aspects of the workflow with Silver Efex.
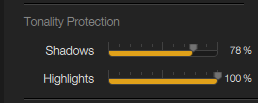
However I feel about the colour vs monochrome images, it is fairly obvious that the colour images are way more important when it comes to getting work published. Therefore the first pass of the edit for sending to distribution is all in colour.
Even if I have images which (at the time of shooting) I know will make better monochrome images, I still edit them for colour and send them in colour. It is only once this step is complete will I go back and do the monochrome edit.
Because of the way the Lightroom Edit-In function works, this means that the final monochrome image is closely tied to the colour version in terms of crop, exposure etc. (There are possible work-arounds with Virtual Copies but I felt they would make a my Lightroom archive messy).
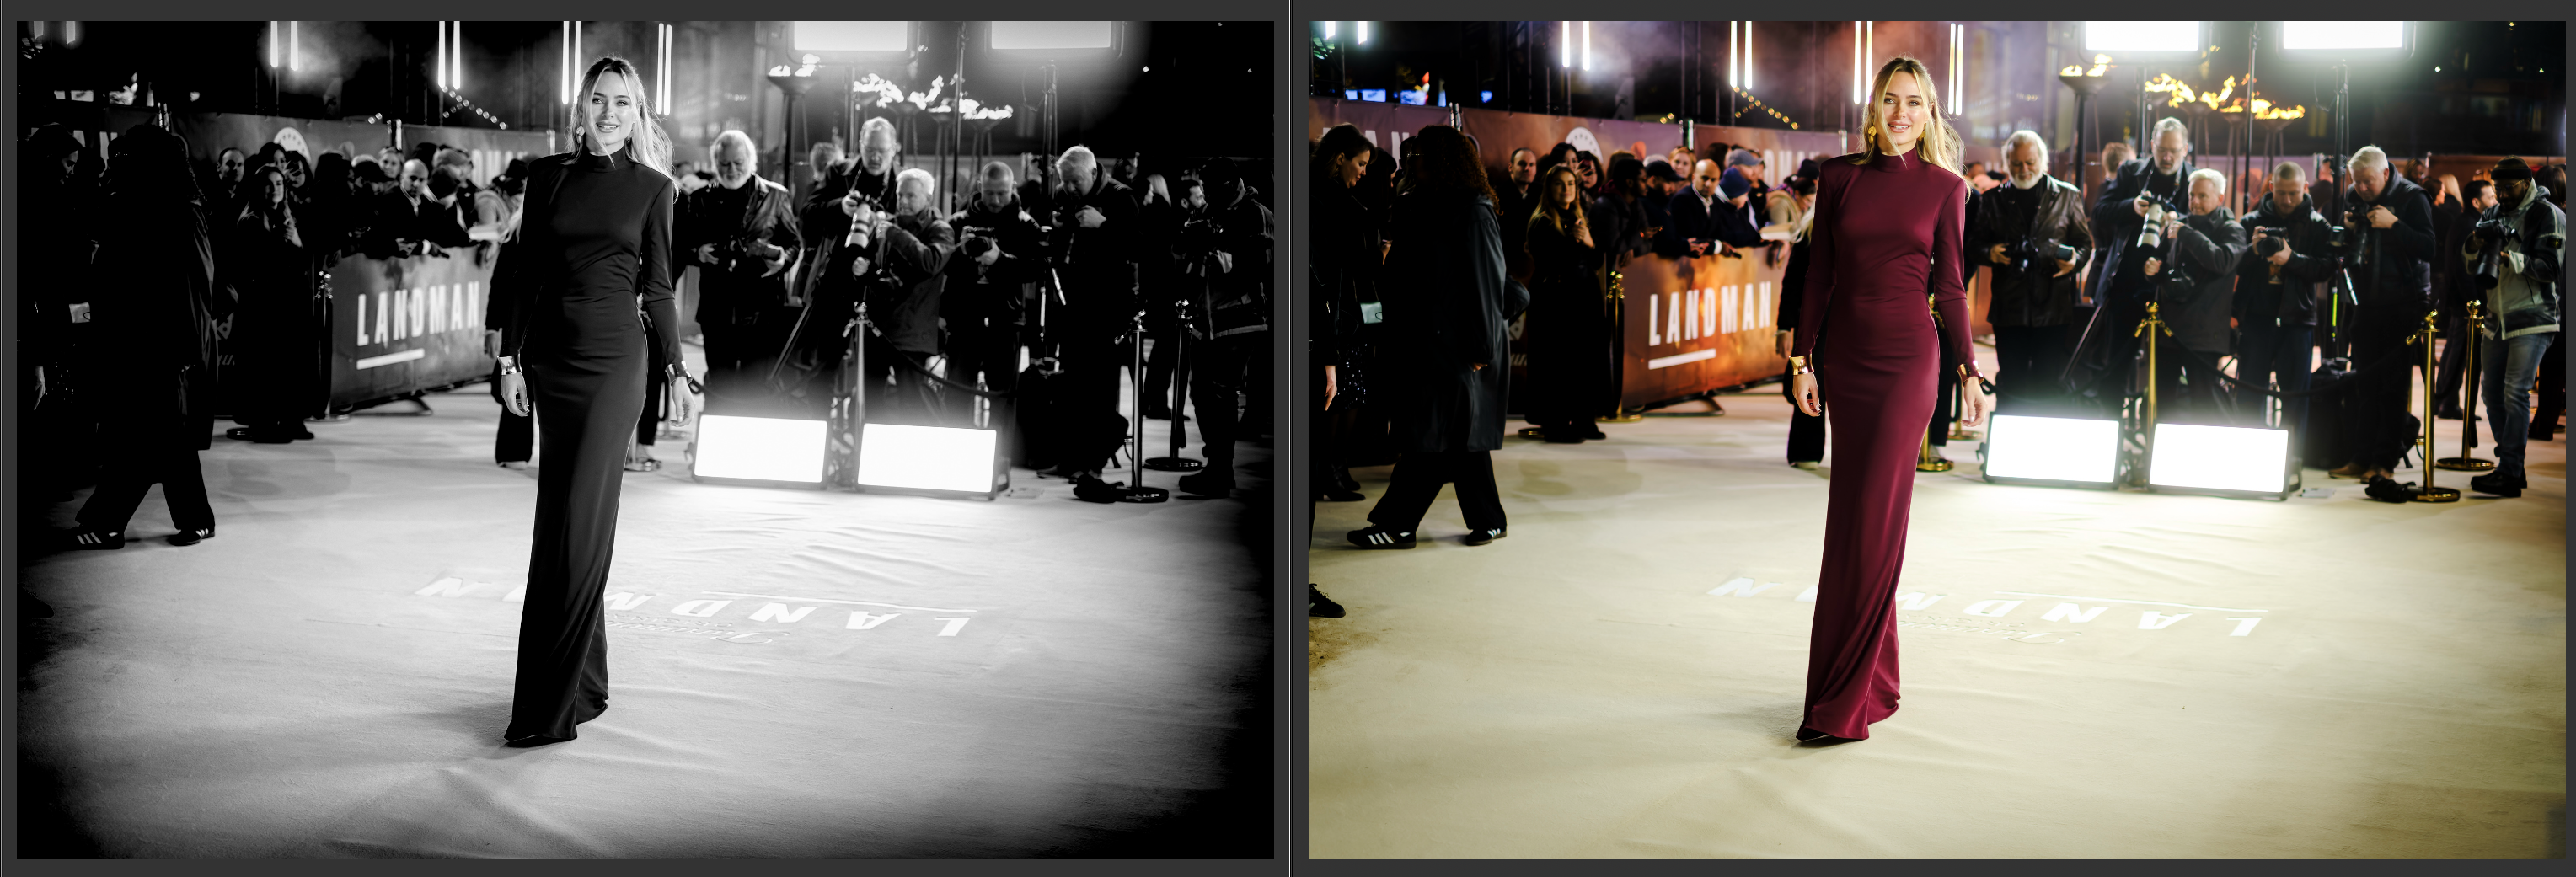
The other issue that has bugged me over the years has been I have never been able to match a JPG Monochrome straight from the Fujifilm camera using the corresponding RAW file (Via Lightroom or Silver EFex).
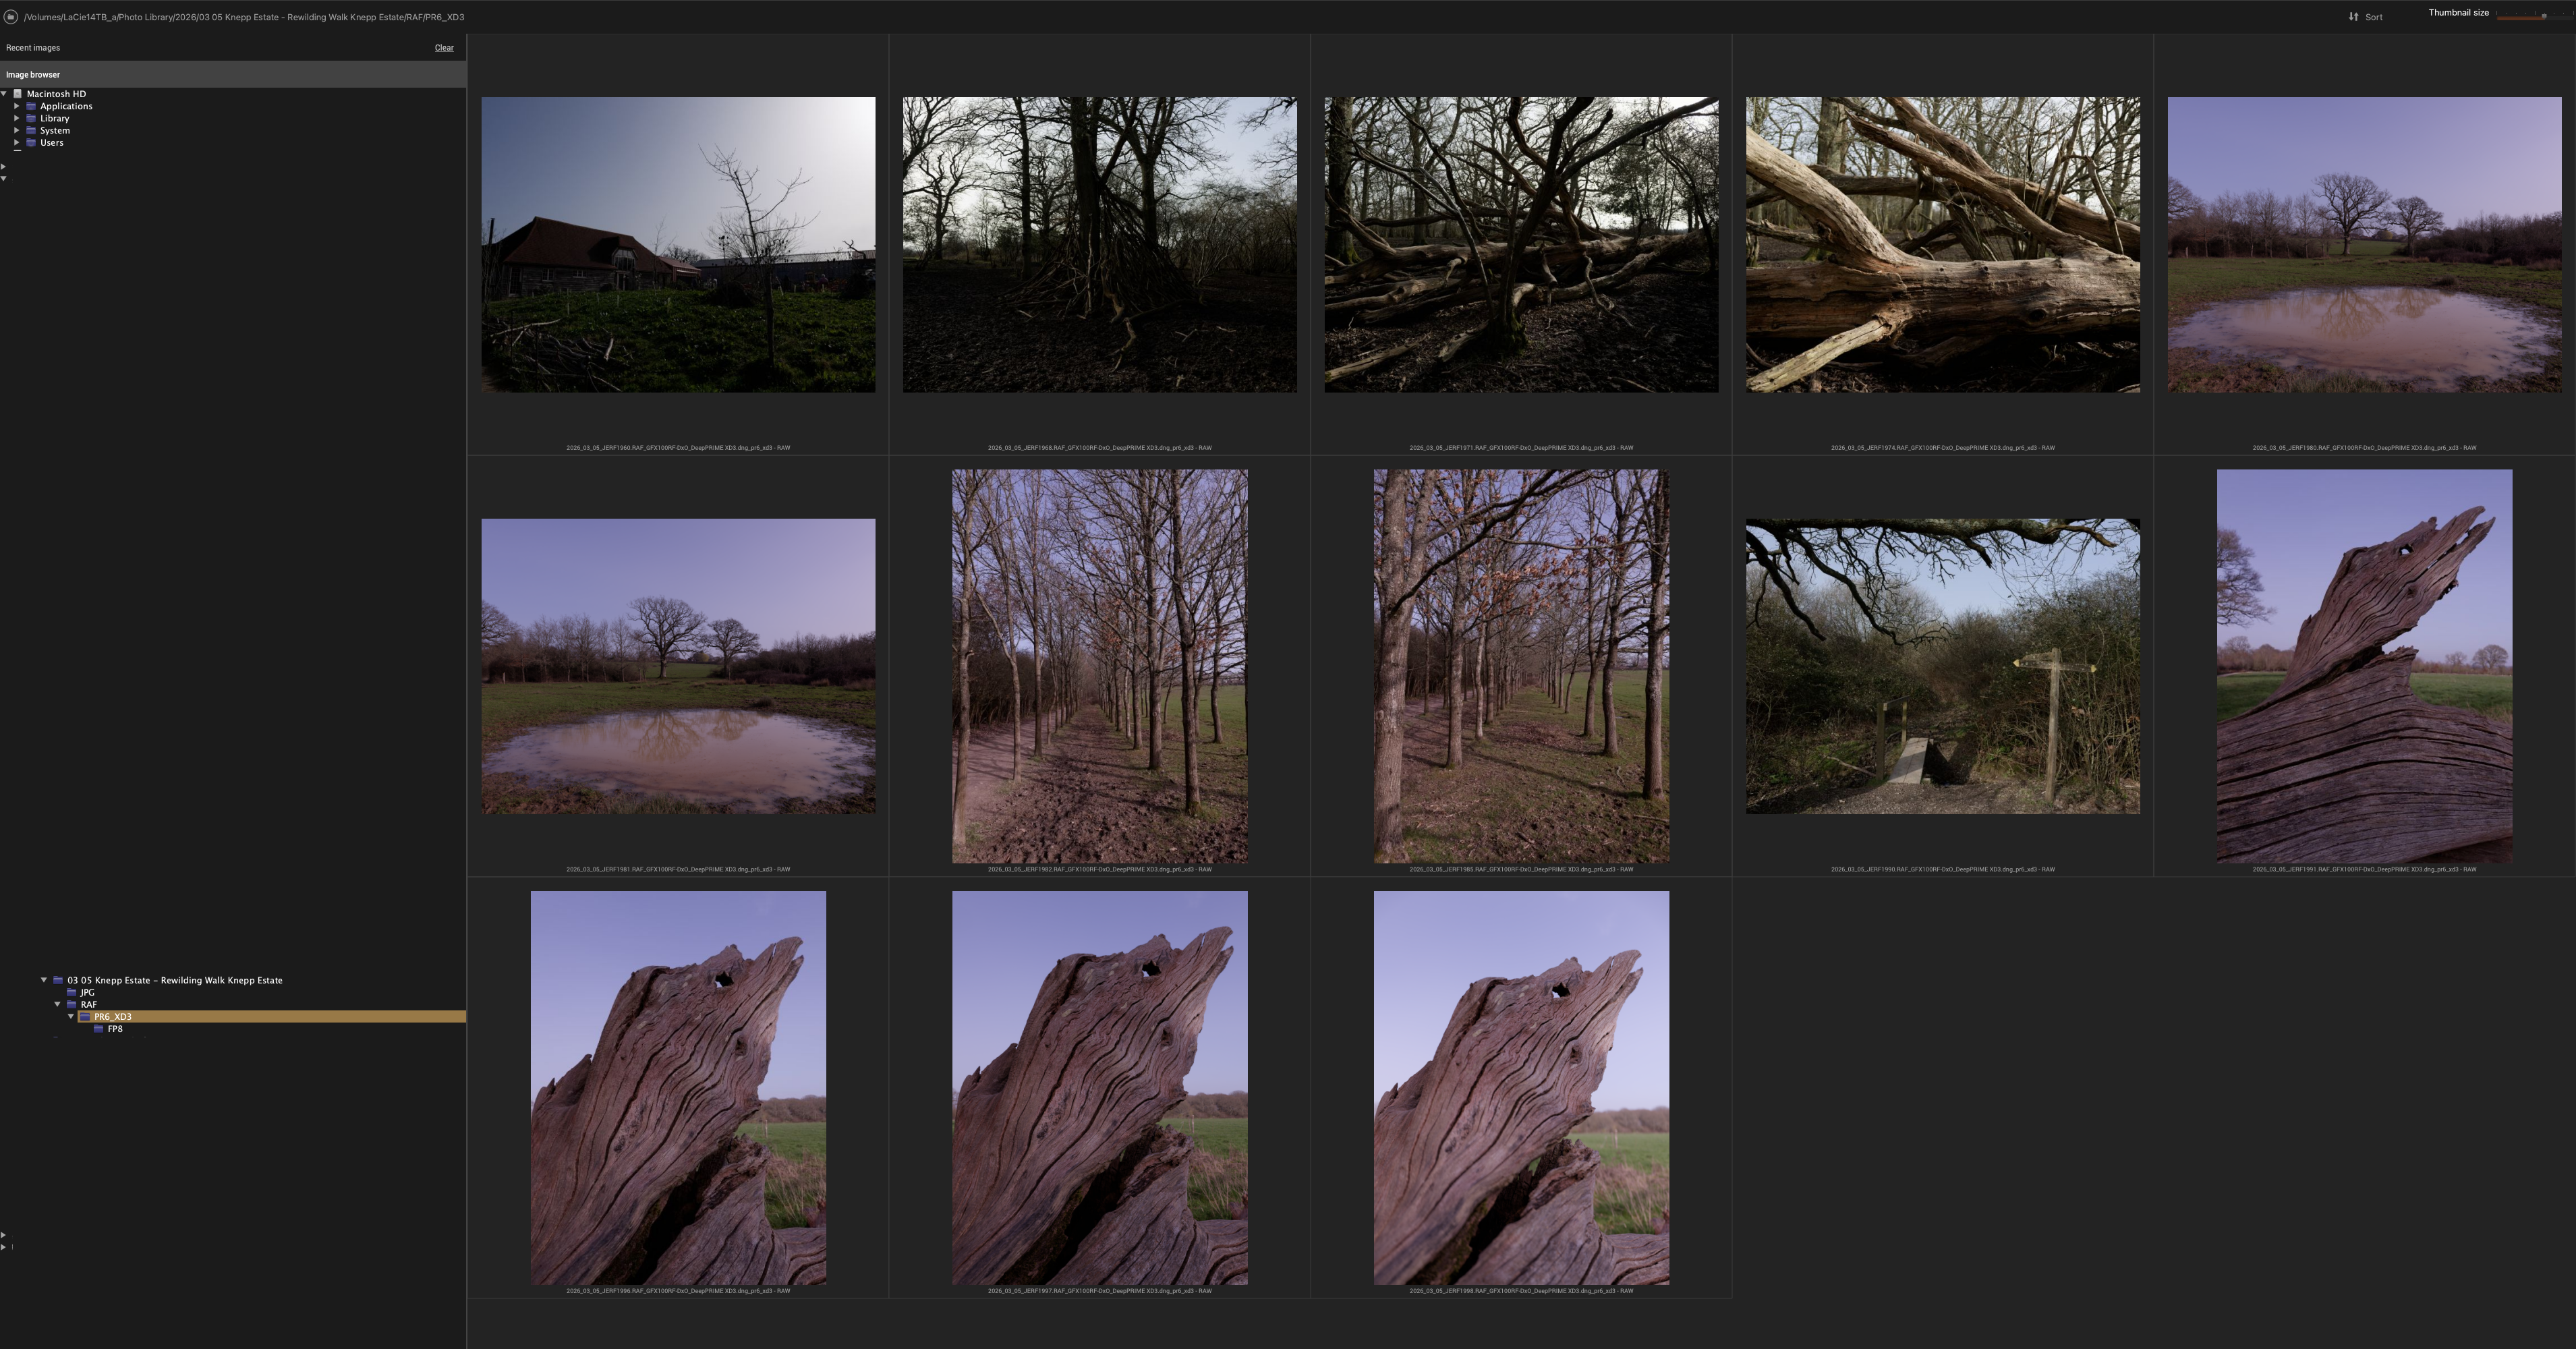
As a techie I am always looking to improve, and this last frustration, re-prompted by one of the images of a dead tree from a couple of weeks back, plus the fact that I had been on the DxO site last week, updating to PureRAW 6 has led me to try DxO FilmPack 8.
Initial tests are very positive with it countering both my frustrations above:
- I can work directly from the (PureRAW processed) RAW files, giving me complete control over the monochrome image, separate from the colour.
- I have got closer to the Fujifilm simulations in the first hours of testing than I ever have with Lightroom & Silver Efex.
I’ll give my more in-depth thoughts about this software and workflow next week.
Until then – are you a Filmpack user? Got any tips or comments on the software?
I look forward to hearing from you (and that you to those who replied to my recent email).
J

One thought on “Improving Black and White Photography Workflow”