Luna and I had been talking about getting together for a photoshot for a couple of years now. We met working together at Frightfest where she is one of the presenters of Frightfest TV.
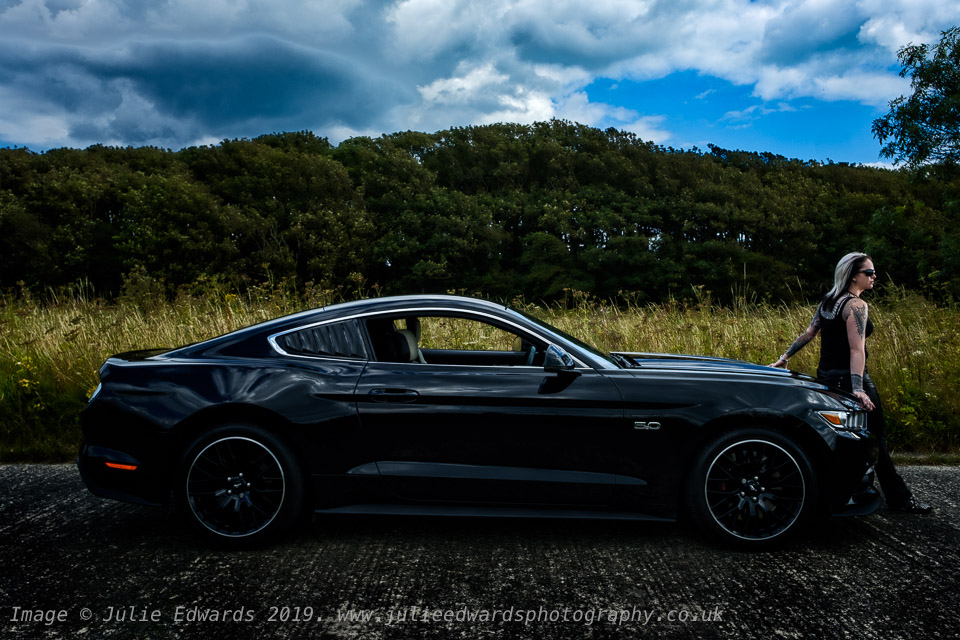
When discussing the shoot we decided we needed a prop or two. She suggested she could use a Mustang GT for the day and so I outline planned an outdoor shoot. I say outline planned as with this kind of arrangement I only like to put together rough ideas as when heading outdoors weather is a a major consideration (especially in the height of summer in the UK). I also like to spend some time with the model, chatting and gauging their mood on the day before firming up my shots.
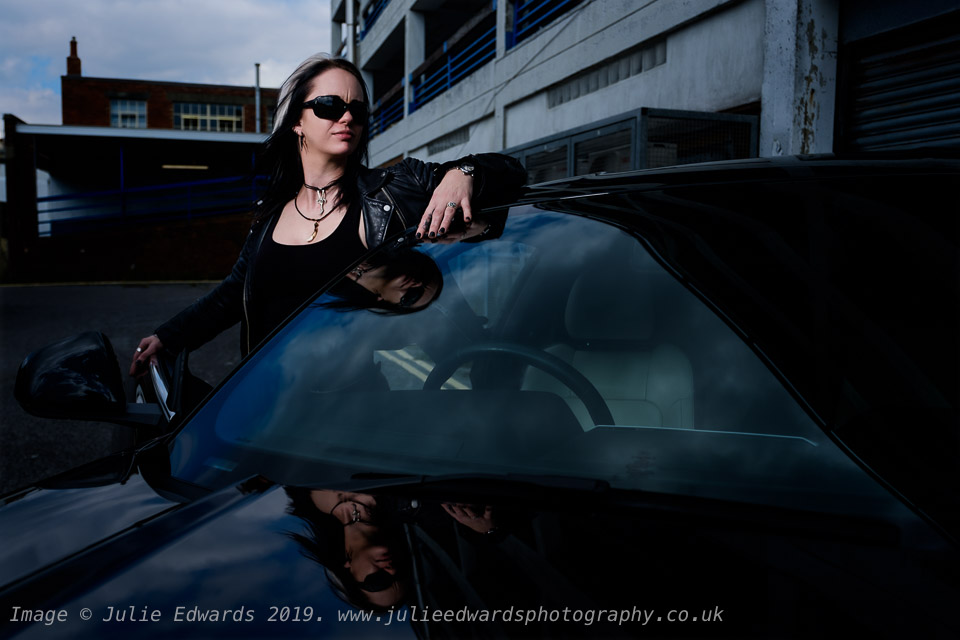
There are a number of ways to shoot a darker, gothic feel type style on a bright sunny day, my preference being for high shutter speeds with high power flash units. I worked with a couple of AD200’s combined with the X-T2’s on High Speed Sync.
The first set of images we shot right in the centre of worthing, near home, with my “assistant” holding a Godox AD200 with a beauty dish, just to get a feel of the light and how the shoot would go.

Now I had a feel, we packed a couple of the flash units, a couple of lightstands, modifiers and lenses and headed out of town (to the mighty burble of the 5.0L engine).
On the day, the light was really variable and most of the time I was having to use the Godox at full power (some of the shots had a second light) whilst waiting for the clouds to help with the light also.
I wanted the images to have a “film” quality to them and so back in the office I edited the RAW images in Lightroom using either the Classic Chrome or Astia simulations before moving them in to Photoshop for retouching. These two simulations gave me a choice of base tones (especially skin tones, where Astia is my favourite).

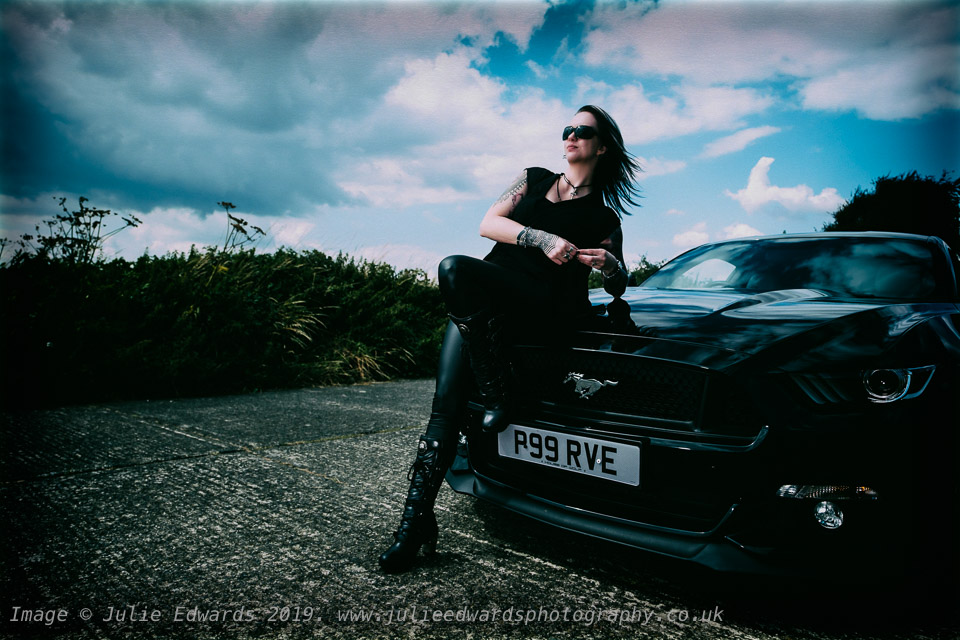
The final look was applied using the NIK collection (now owned by DXO) running inside Photoshop. I learned a thing or two here as well; It had always frustrated me how adding a NIK layer to a PS image was a “one hit” action. If I decided I did not like the look after I had applied it (or subsequent edits), with my old workflow it was a case of deleting the layer and restarting. However a quick goggle on a train this week revealed the “magic” recipe. Convert the source layer to a smart object first and then the NIK filters are applied as Smart Filters meaning they can be edited with a right-click..
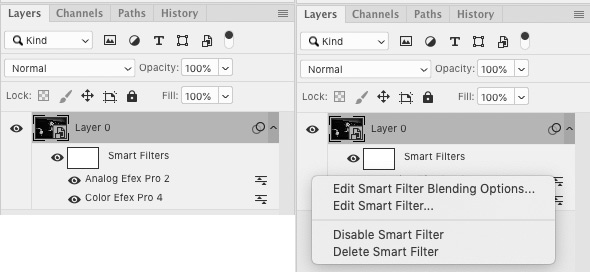
As you can see above, I used a combination of Colour Efex Pro to get the contrast and colours where I wanted them before adding a subtle film look and grain with Analog Efex Pro.

The style may not be to everyones taste but we had a loot of fun shooting these and they definitely work with Luna’s style.
