A very short post on how to get the images out of ShutterSnitch and on to a main PC. The app, when running offers two methods of connection: FTP or Webdav (accessible using Finder on a mac). The username and connection settings are shown in the main settings dialog for ShutterSnitch, it is this username plus the password configured when the ShutterSnitch was first set up that are used to connect.

ShutterSnitch only shares the current image collection (hence me putting into a single collection) so confirm the settings as above and then switch to the collection to transfer before attempting to connect.
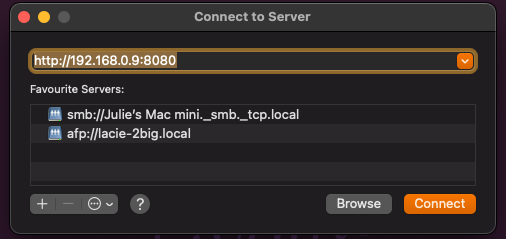
Here I am using the Connect to Server tool from the Go menu in finder on my MacBook. Note the use of the webdav port listed above in conjunction of the IP address of the iPad setting on the WiFi network (the IP address for the iPad can be found by using the i icon in the network settings.
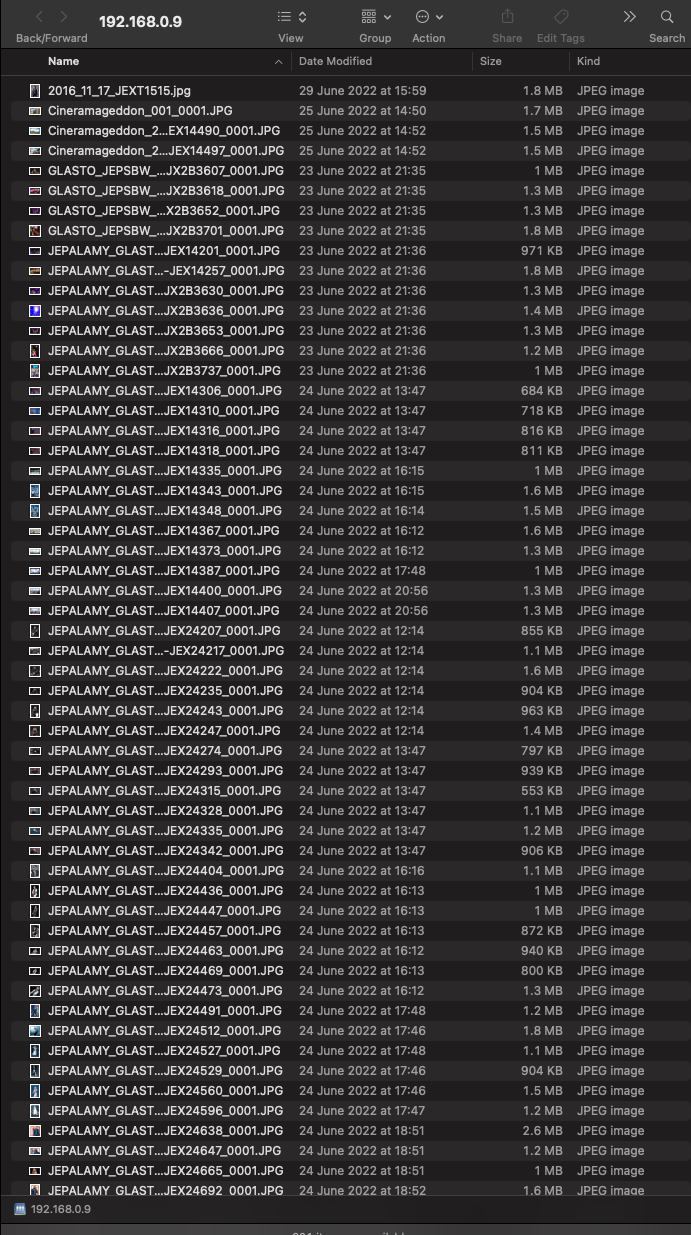
The image files are listed as expected and copy/paste etc can be used to copy them into the required folder. Once copied ok, I delete them.

This image shows the images in Photomechanic after copying.
I do not actually add the images I send vis ShutterSnitch into my Lightroom Library, the sent ones I keep just as an archive of images “just in case”. My main Library/Archive is maintained by synchronising Lightroom Mobile to my MacBook based main library before carrying out a minimum number of housekeeping steps before they are filed away.
The next post will detail these housekeeping steps before I move on to other tools use in my Workflow.
As ever,, any questions or thoughts? Get in Touch!

Julie, great photos and great to read these posts.
They are very helpful…after using a similar work flow for 2 years, It’s helpful to see another person’s take and tricks. Keep it up and it’s awesome to have you shooting and sharing.
LikeLike