I finished my last post with the mention that I have moved to covering the larger events using an M3 Macbook Pro instead of the iPad. So Why and how?
I’m actually going to answer these questions over the next few posts but here I will address a couple of reasons.
Reason 1: The 14″ form factor with an M3 chip
I’ve said before that the differences between Apple Silicon & Intel Mac is mad (I cannot think of a better word). However I always thought the 13″ version to be too small and the 15″ version a big big and heavy (having had a couple 15″ Intel versions previously, I did not really want to go back there).
Reason 2: Tethering
The major agencies in the market in which I work (Getty, Shutterstock etc) all send live from camera to editors who crop, caption & generally tidy the images before sending direct to the world. I know (and have always said) , they are not my real competition. I cannot compete with them and so I took a slower route which has worked fairly well – my image licences & uses are not too bad (but they can always be better).
That said, standing still is actually going backwards so I thought I would give myself the option of sending faster and maybe sending both “standard” plus “more creative” image direct from the event when possible.
The problem of tethering a X series camera to the iPad has never really be solved (in a real world / live situation), so these things combined and I decided to go for the laptop.


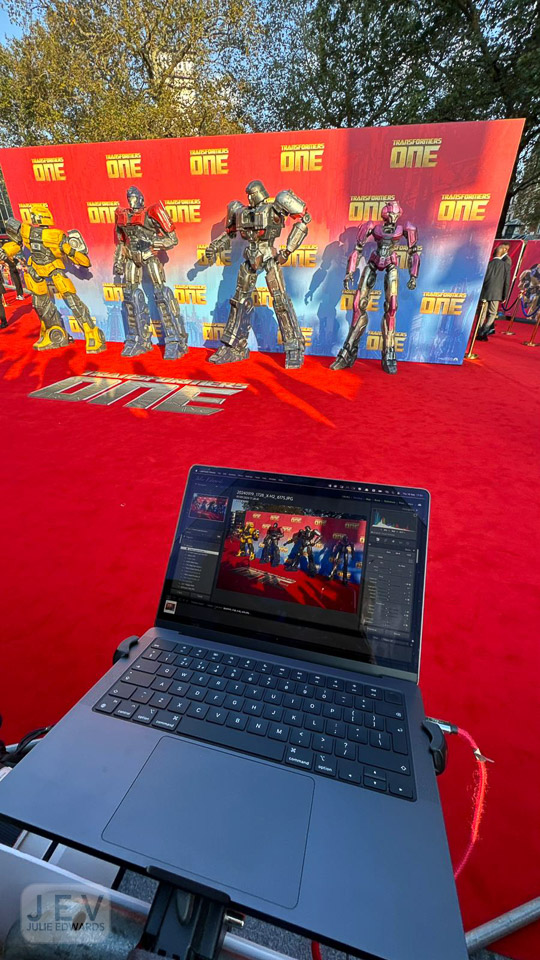
I’m a big fan of 3legged thing (more later) and it just so happened as I was looking into the issues, they released a new mini arm. I combined this with an old iPad mount and a super-clamp to enable the MacBook to be mounted to the barrier (see above – expand out the images).
The basic workflow is a USB-C connection to the laptop where Fujifilm Aquire is pushing the JPEG images to a folder monitored by Photomechanic Live Ingest . This adds the basic caption.
I do a quick select, complete the caption details then export into Lightroom (I have a shortcut key to do this, so it’s very quick).
In Lightroom I edit, making heavy use of presets, before exporting (again via a hotkey) to Photomechanic from which I FTP out.
In type this sounds way more complicated than it actually is.
At the start, I used a basic USB-C data cable. The images came across fairly quickly but every now and then there was lag or a full buffer. I wondered if this could be improved so I ordered a Mathorn specialist cable to try.
I first used this cable this past weekend at the BRITs. Wow. No lag, no buffering issues.
That is until I stood on the cable and snapped the connector at the end!
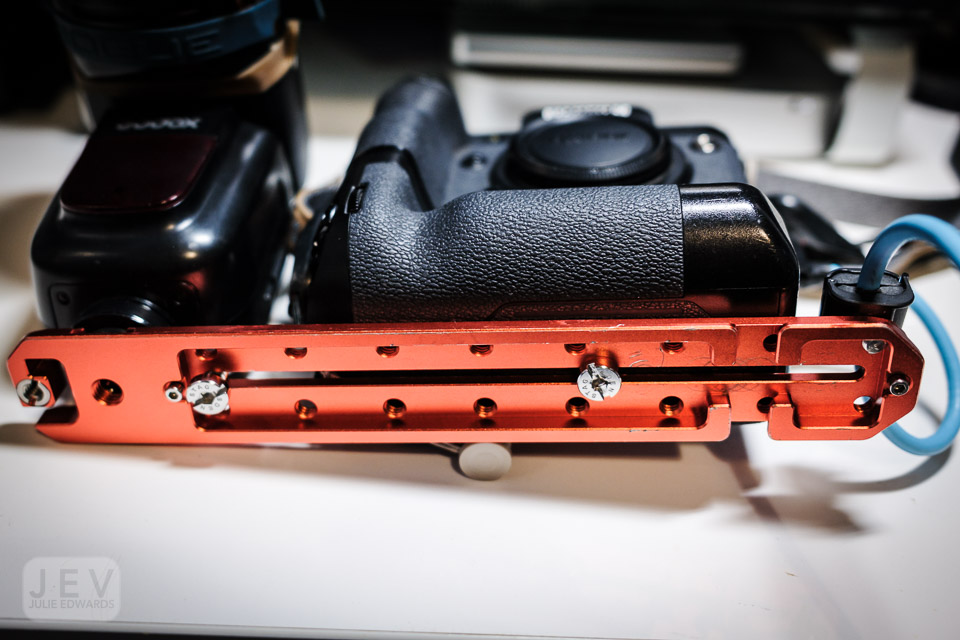


So this week I had a re-think and added some Smallrig cable clamps to the Ultra-plate I use as a flash bracket.
Let’s see how this works at the next event. Hopefully it’s problem solved!
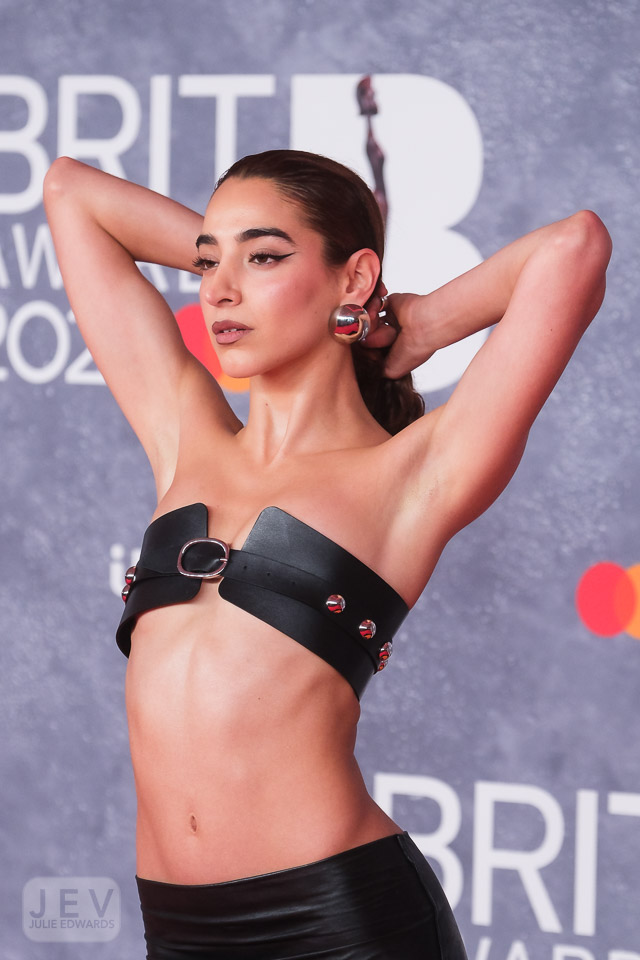
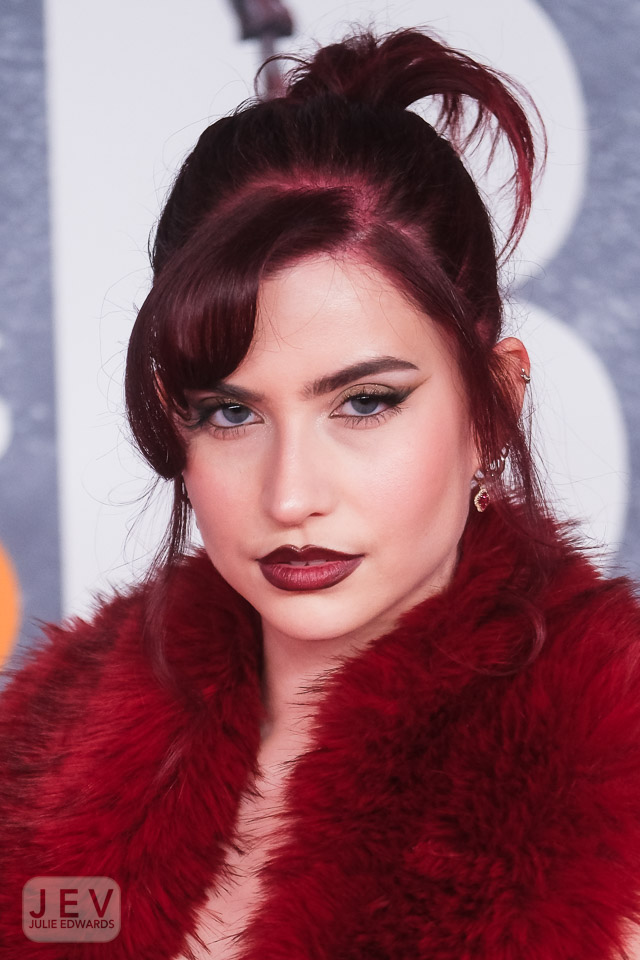
I think thats enough information for now, here’s a gallery of images from the BRITs…


Next post I’ll expand a little more on the reasons, the workflow and the FT-XH that I have added to the X-H2s to run alongside the USB-C tethering on the X-H2
Do you have any experience tethering with the X-H2’s ? Let me know. Also what are your thoughts on the above, is there anything particular you would like me to expand on.
More soon
J x

Hi Julie, interesting post. Quick question. If you’re shooting with two cameras can you have them both tethered via USB-C to the MacBook at the same time?
LikeLike
I’m not sure that will work.
That’s why I mentioned the transmitter grip at the end.
I’d have the one I’m shooting most pictures with USB and the H2S with a lower resolution (smaller files) on Wi-Fi.
LikeLike