In my last gallery I mentioned that I gave a presentation of my images from a 2012 trip to the Democratic Republic of Congo.
When I re-opened the presentation I had given previously I was (almost) disgusted with the images, the colours and how they were edited.
SO.
I went back to the original RAW files which were a mixture of X100 (mk1) & D700 images.
Using Photomechanic, I went back through the files, made a new selection of images which I then copied elsewhere to ensure they did not get mixed up, before running them all through the latest version of PureRAW.
Once that was completed I brought the images into Lightroom Classic for a total re-edit, tweaking the white balance and exposures.
Where the real edit changes came though was using “AI” selection masks to action corrections that I just did not have the skill or the time to do previously using manual methods.
I will be honest, I know back then my selection skills (in Photoshop or Lightroom) were not the best, and, for various reasons I made quite a few errors (some fundamental) on this trip as it was the first time I had dome something like this.
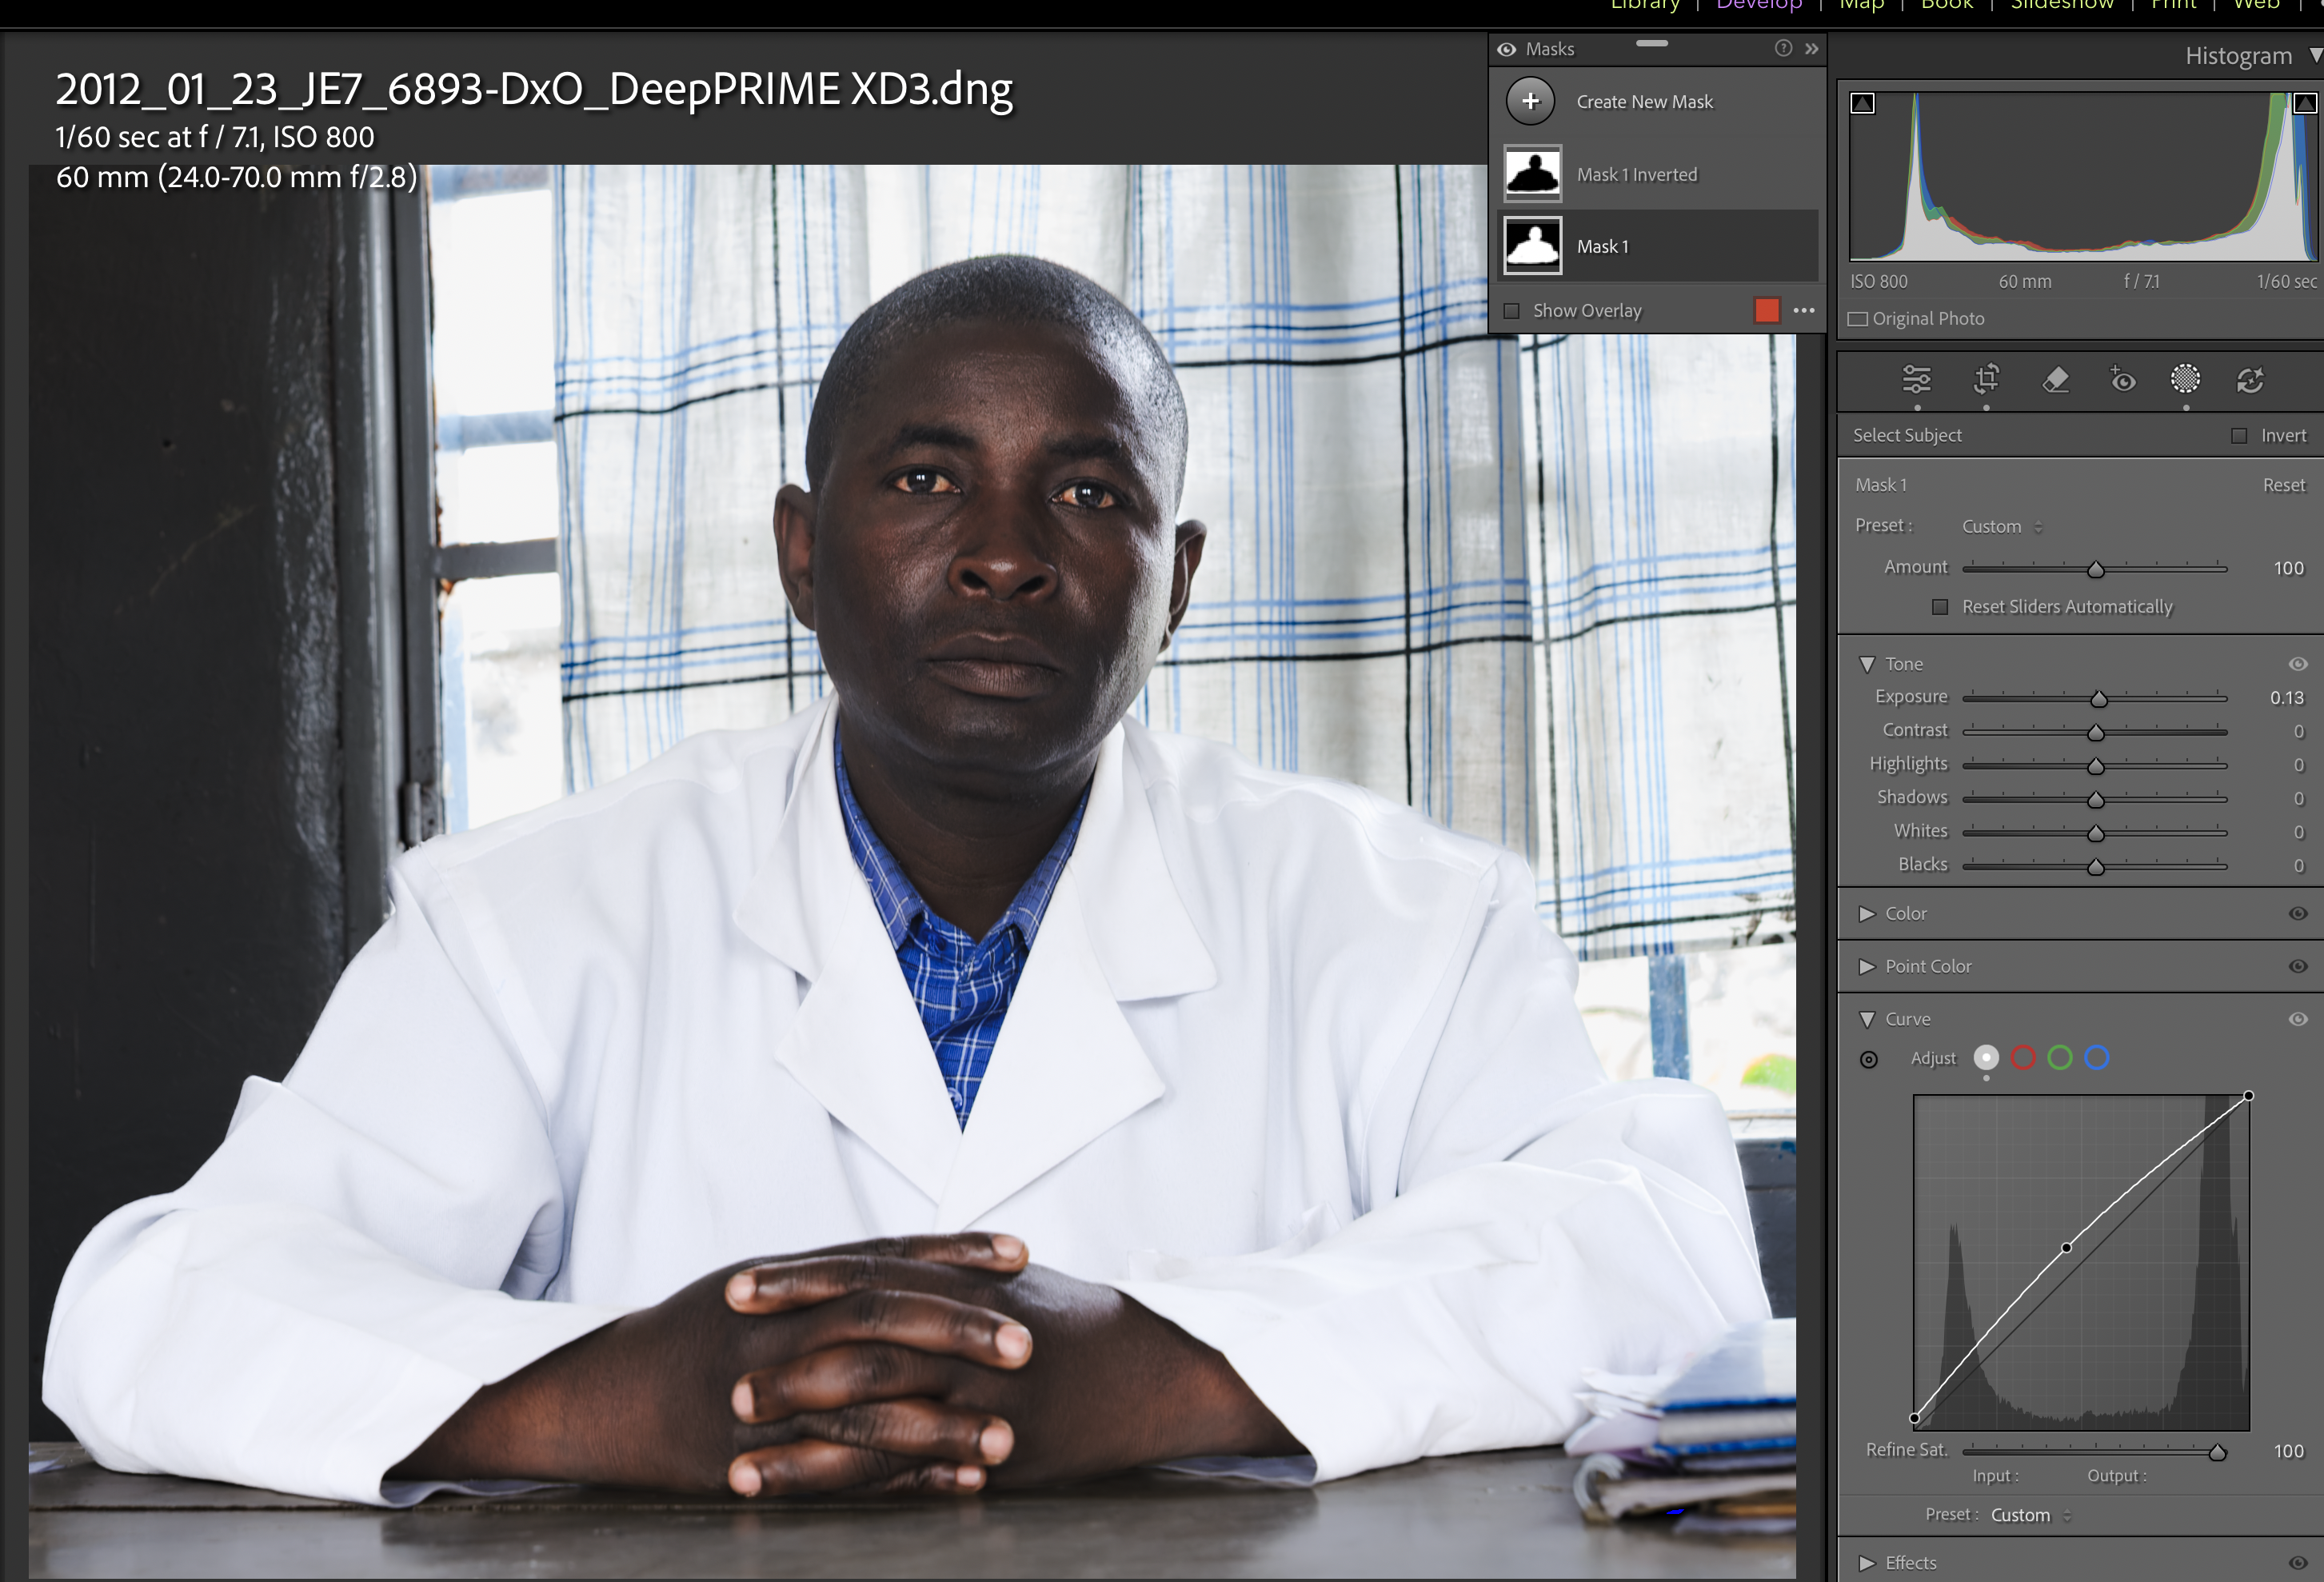
This first example of the Head Nurse, I had exposed for his face which left the background really badly over exposed. I used the masking tool to create a mask for the nurse and then I duplicated and inverted it for the background. This meant I could apply a better tone curve to him whilst reducing the exposure on the background.

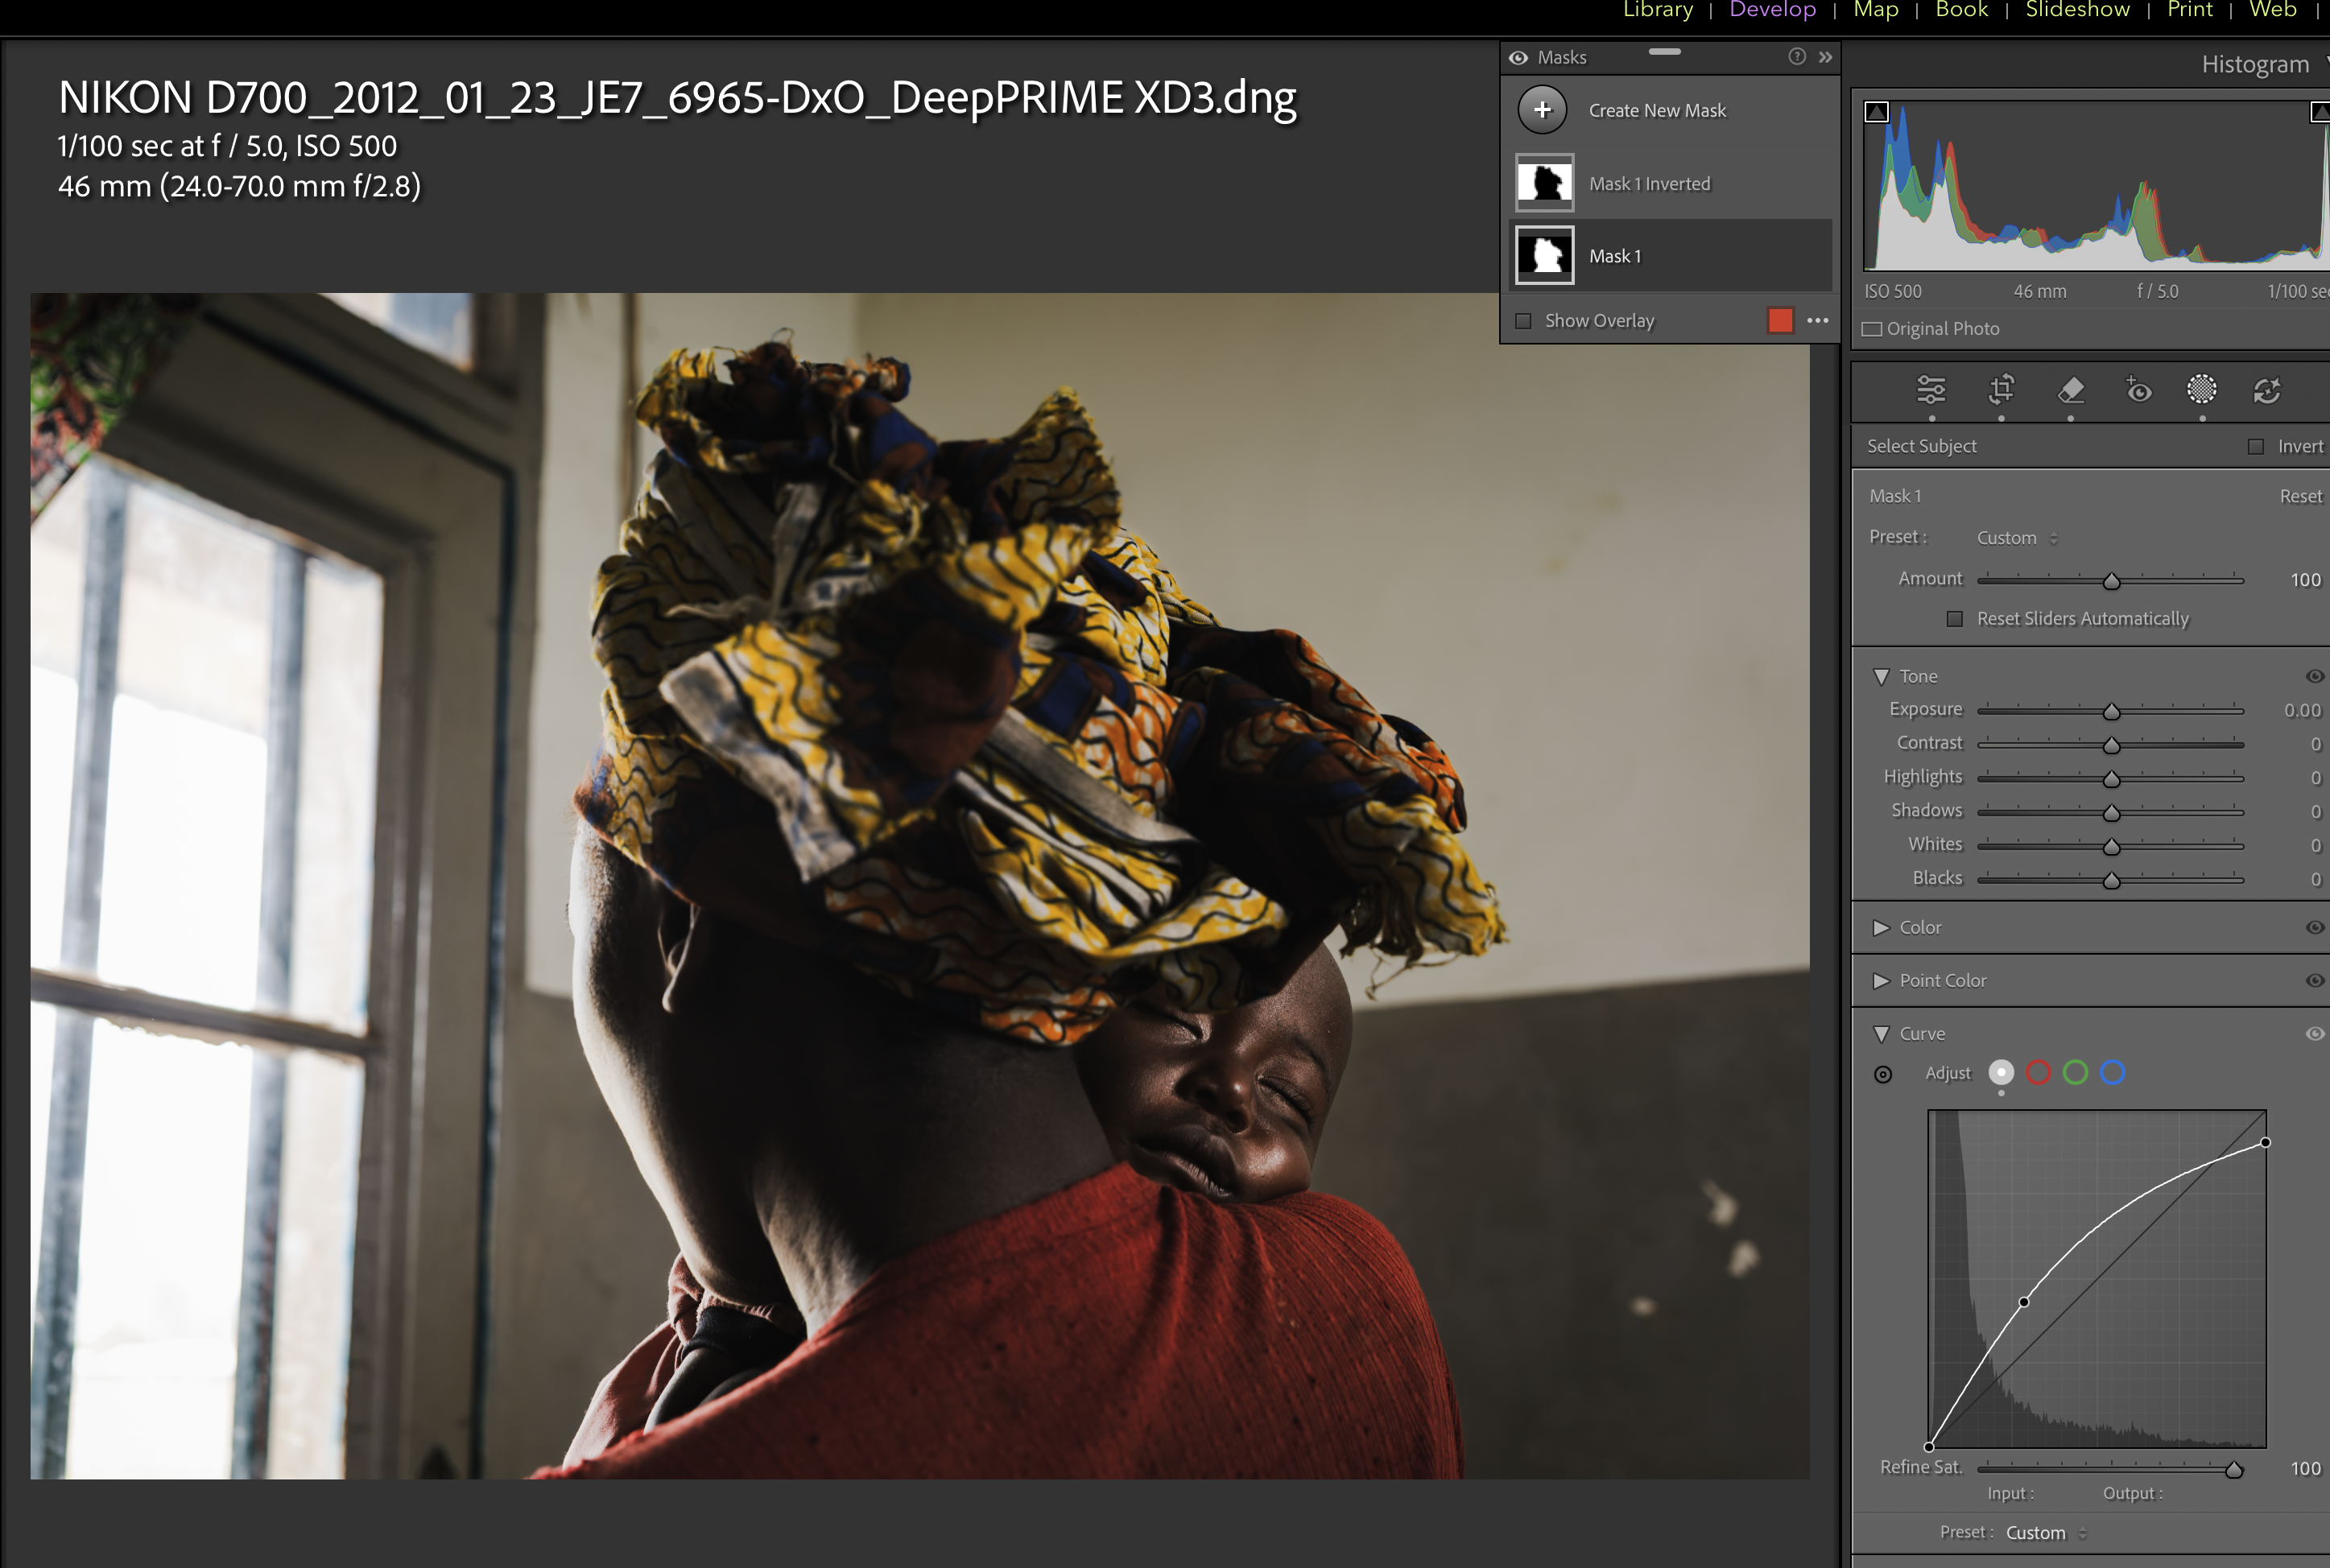
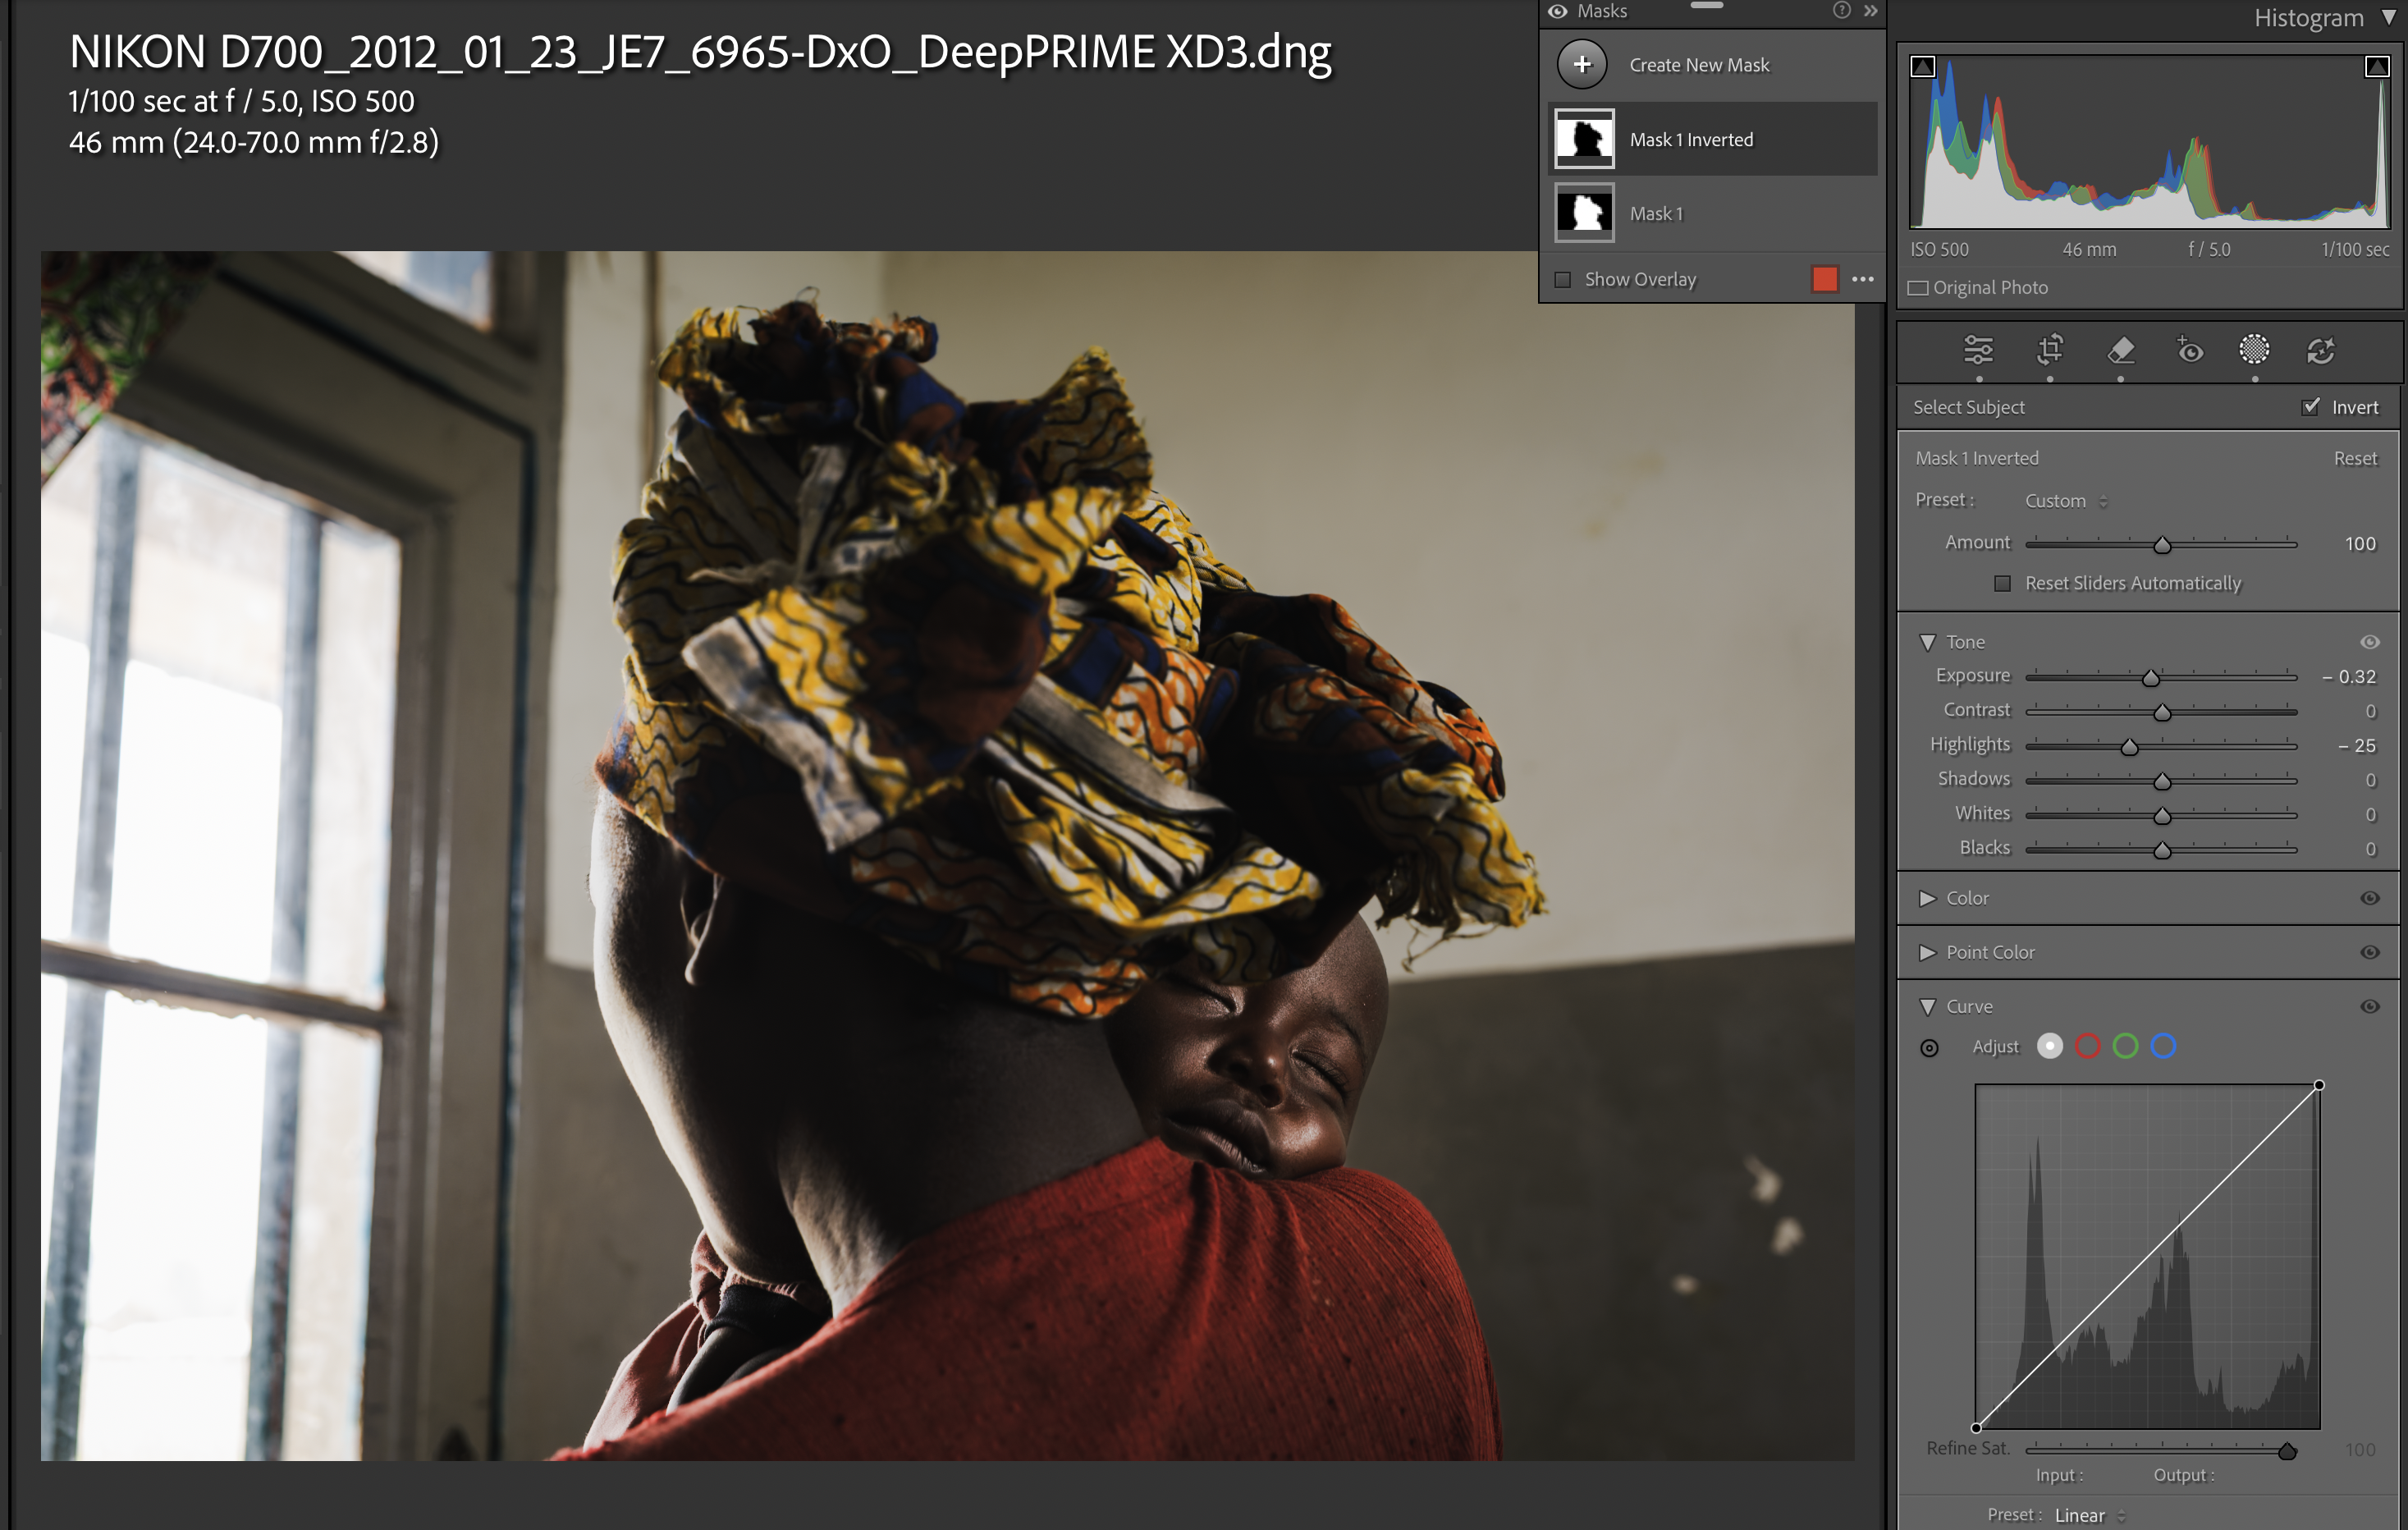
I did exactly the same here for this Sexual Violence Survivor and her baby. Looking at the tone curve for the people, you will see that I have dropped the max white vale as well as changing the curve. I found that when editing these images, reducing the contrast between the lightest tones and the darkest on the subjects made a real difference.
The results of the masking and tone curve adjustments can be seen really clearly here.
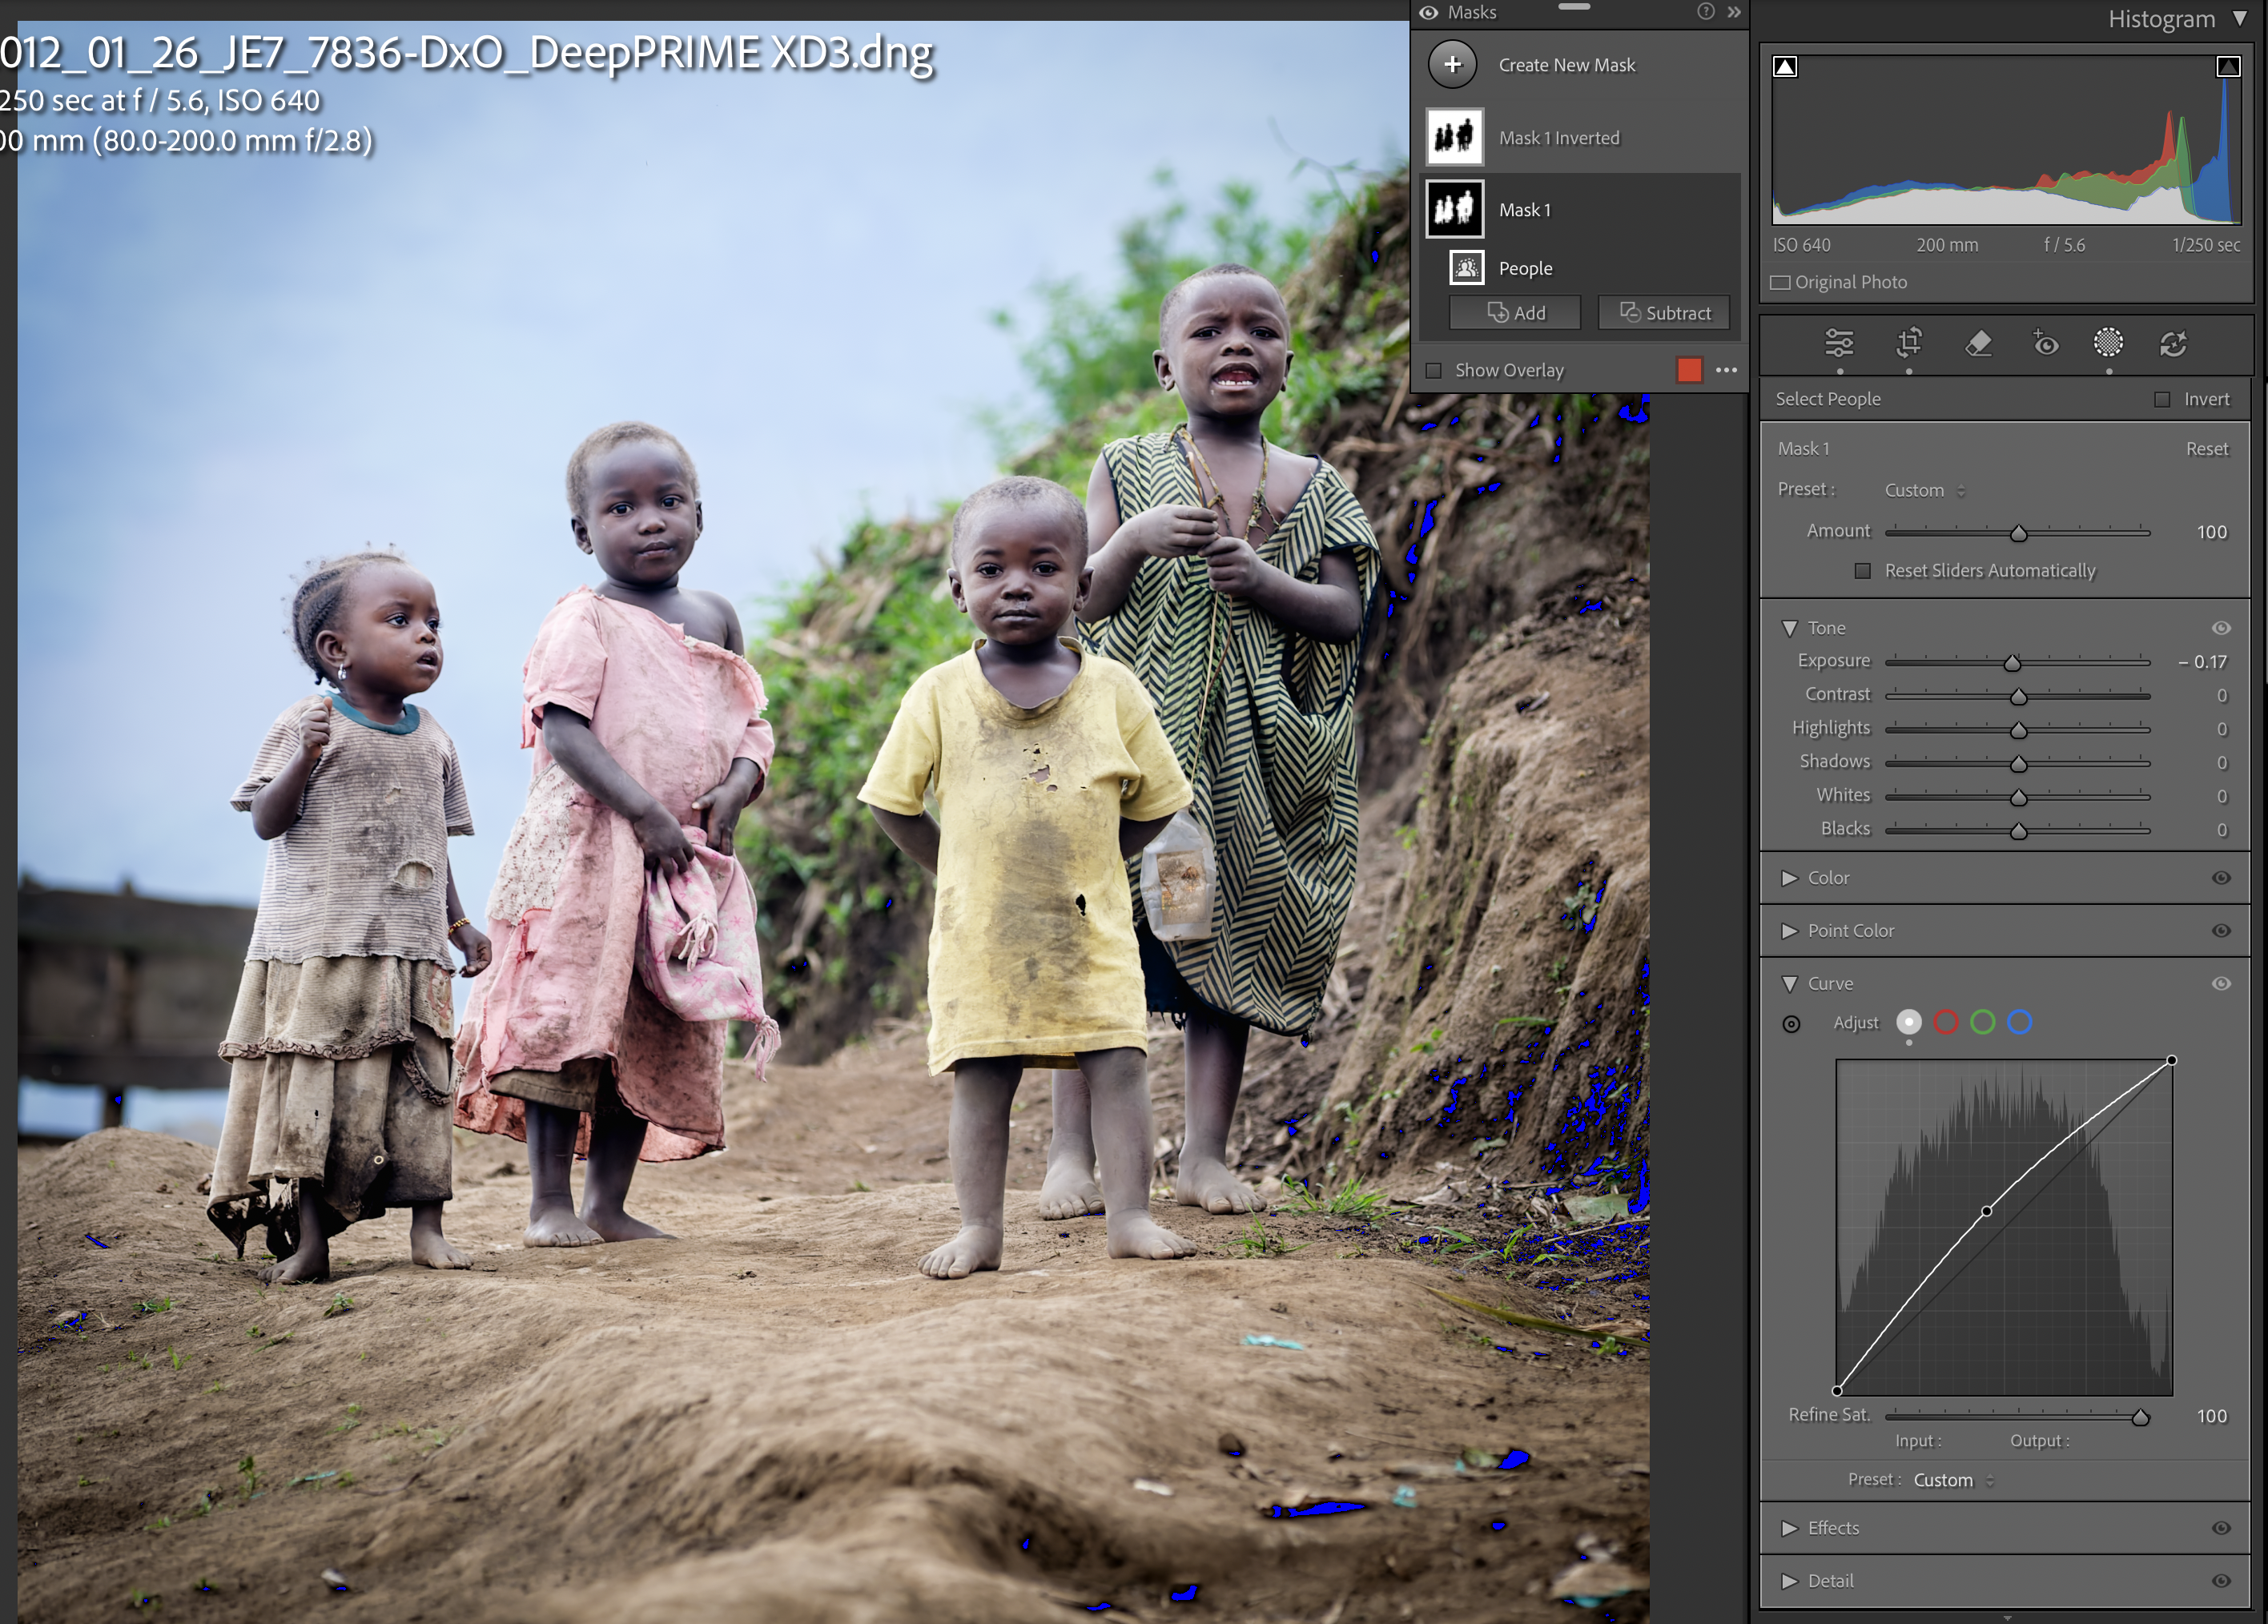
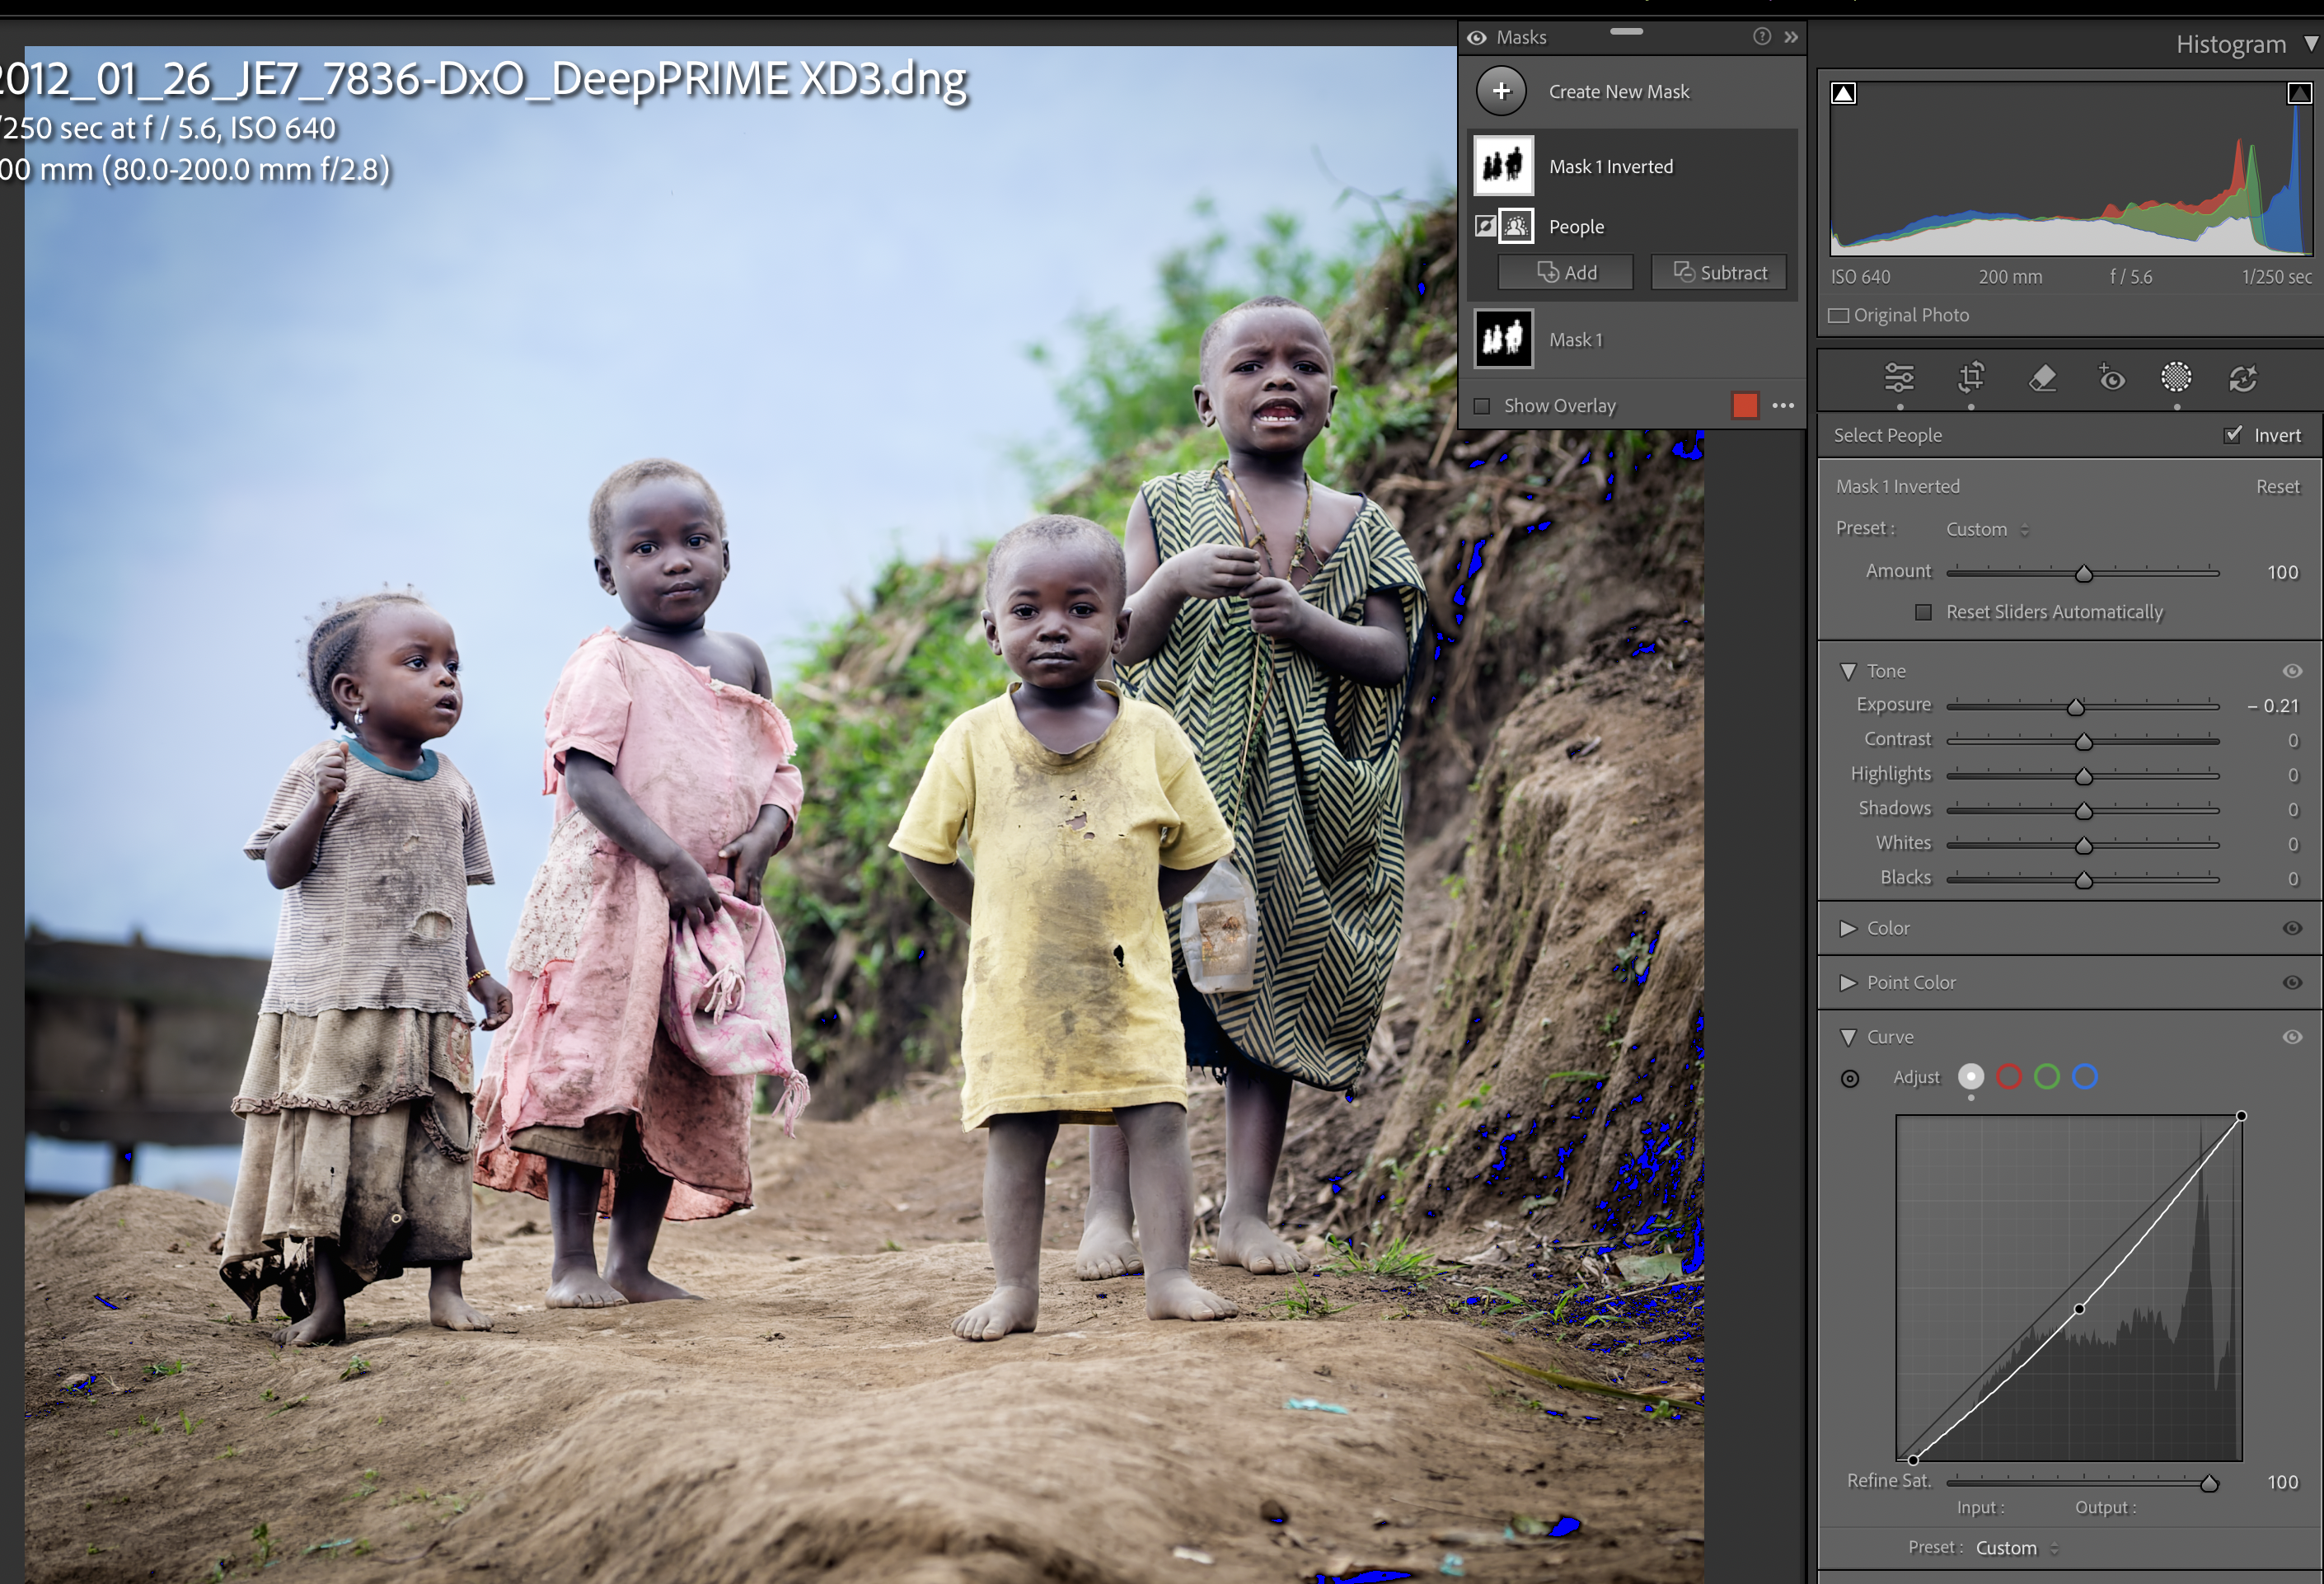
The tones and the colours still look congruent with no huge changes to the exposure, but by raising the curve on the group of children and dropping it on the background, the subject now really stands out.
For much of my career I have been using the exposure, highlights and shadows sliders but I am starting to move more towards tweaking the tone curve manually myself to get more subtle adjustments, I only wish it were possible to increase the size of the curve in Lightroom to make it easier to select and the points to adjust.
Like many photographer, Lightroom is core to my business. I edit and archive in this software and so have it on annual subscription (to keep the lower pricing).
I see and hear many criticise Adobe for the subscription model but when you complete a project like this, totally reediting over 150 images in less than 2 days, you realise how the tool has advanced in a way that many of the other tools that are not supported by (compulsory) subscription models have not.
To be clear though – thats not to say I am entirely happy with the AI image generation direction that Adobe have gone in.
More soon
J
