Today's gallery is hot off the press, featuring images from last night's keenly awaited film premiere (and probably the hottest premiere of the year so far, in so many ways).
Tag: photography
The Advances in Lightroom editing since 2012!
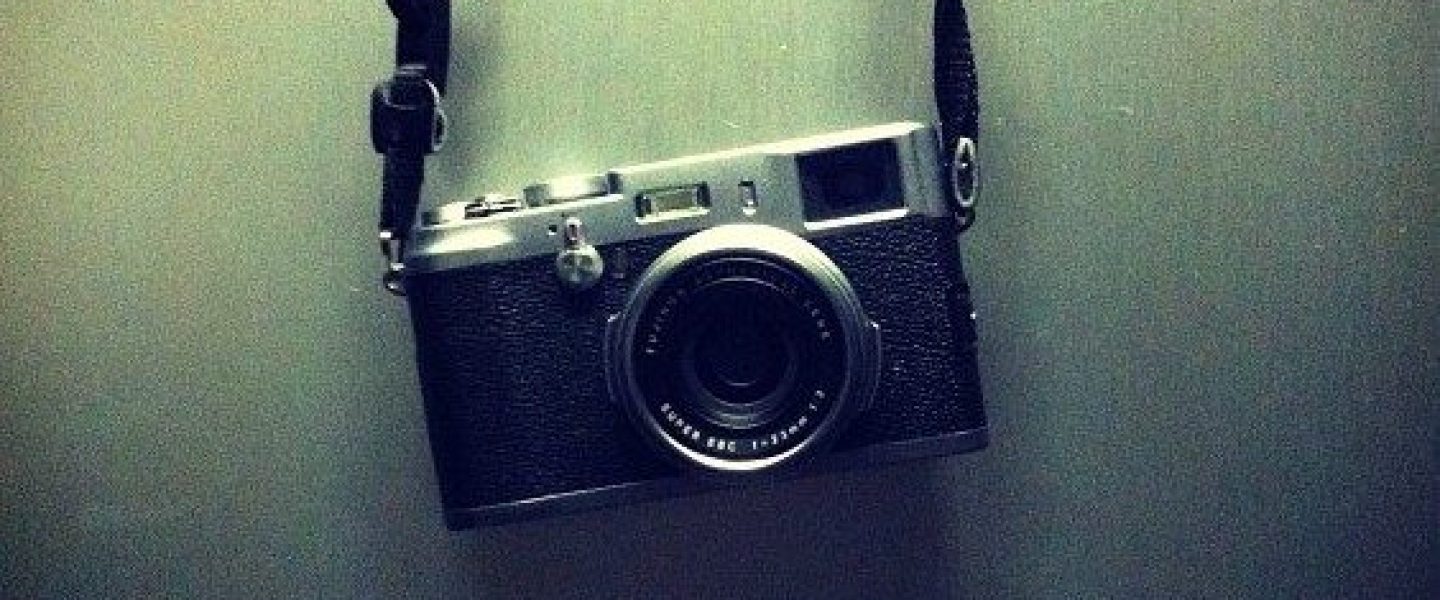
When I re-opened the presentation I had given previously I was (almost) disgusted with the images, the colours and how they were edited. SO. I went back to the original RAW files which were a mixture of X100 (mk1) & D700 images.
Gallery: IDP camp at Karonja
Last night I presented my images and talked about my visit to the Democratic Republic of Congo to Uckfield Camera Club. Here are a few images from an IDP (Internally Displaced Persons) camp at the village of Karonja on the outskirts of Masisi . Many families have set up makeshift shelters in the village.
Shooting the London Soundtrack Festival 2026
For the second year running, I spent 4 days in London shooting photographing the London Soundtrack Festival..This year my pelicase seemed even more packed..
Comic-Con past..
The obvious gallery to do today would be a set of images from last years event. However, I do not want to be influenced by what I shot last year; I like to approach each repeating job as though it is the first time I have shot it (not an easy task). With an event like the Soundtrack Festival, where the events and locations all change year on year, this is easier.
