
This post is a duplicate from one a few years ago but with some additional ideas for using collection names with a few more examples showing how flexible the system is.
From our last post we are at a point where we have exporting images from Lightroom to a collection of images in ShutterSnitch with key information (main image description) in the title field.
Note: I have totally skipped actions which ShutterSnitch may apply to arriving images at this point – if you have actions defined, for the sake of setting up the MetaData, ensure “Do Nothing” is selected. This will make sense later.
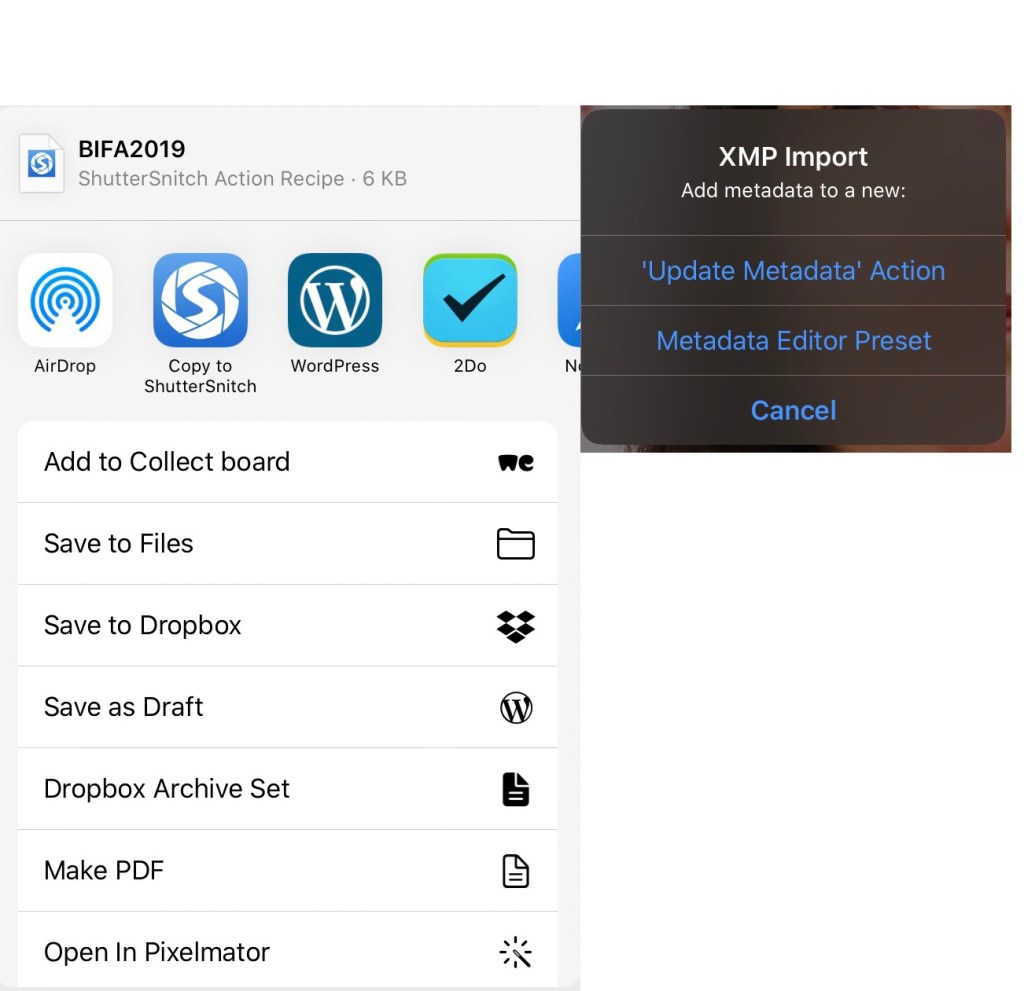
The first issue is, where do we start with our data? Can we start with Photomechanic? The answer to this is yes we can. I export the XMP from PM into Dropbox and then on the iPAD, export the file into ShutterSnitch.
Note: If starting from a Photomechanic template, the variables will need replacing as the syntax is different.
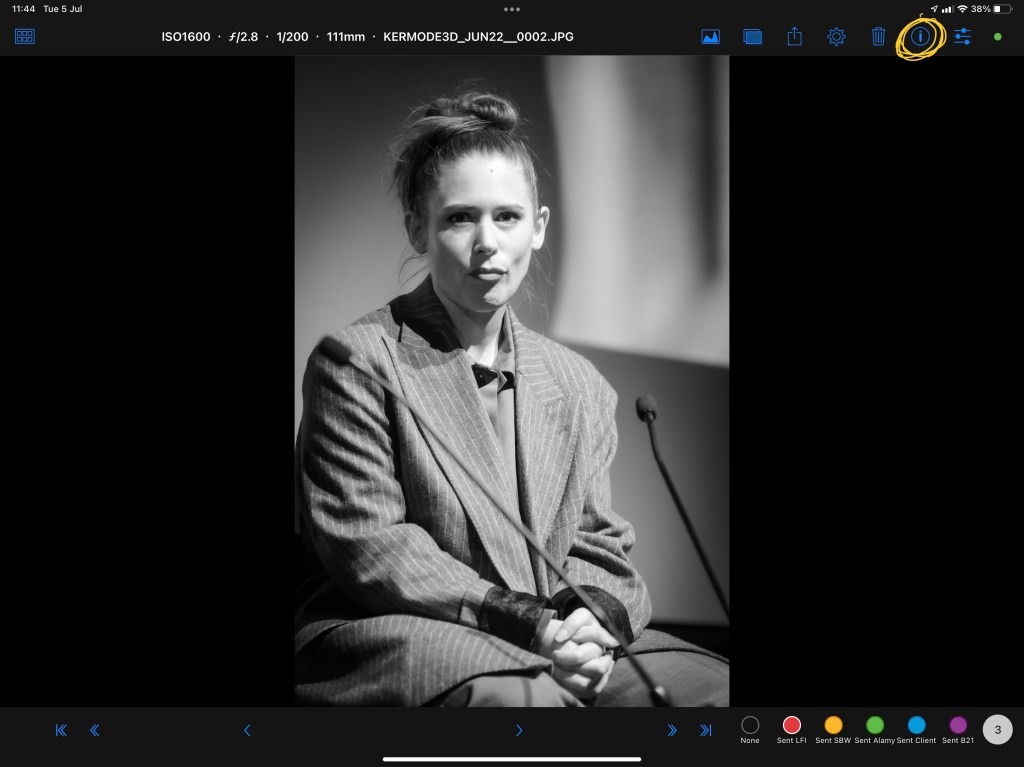
The i Icon on the top toolbar switches ShutterSnitch to the Metadata Editor.
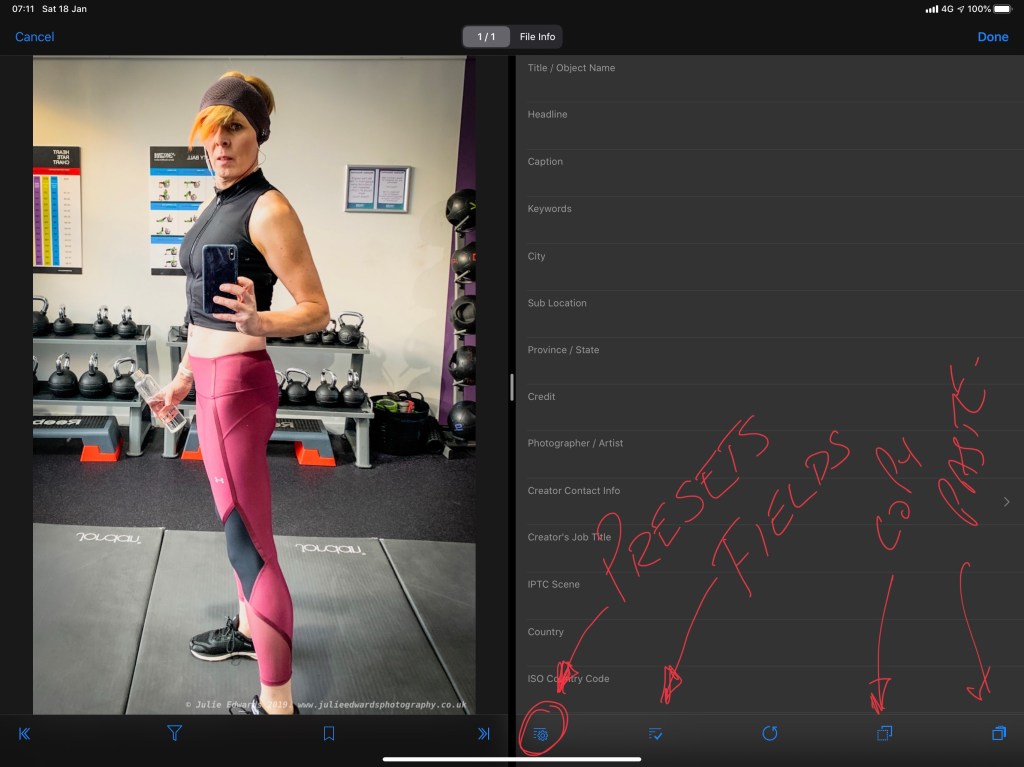
As shown in the above images there are a number of options along the lower screen. The left-most tool is the Preset Editor
The choices are just to select a preset or use the Edit button to edit the presets available (the usual iOS left swipe to delete) or click to edit. Hold down to duplicate an existing preset.
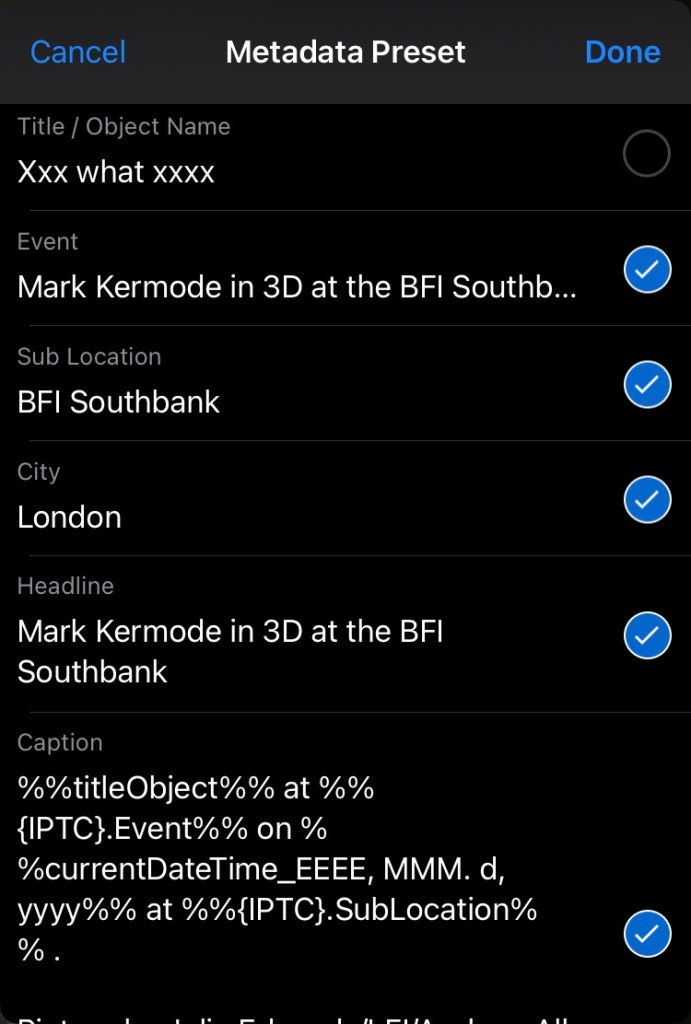
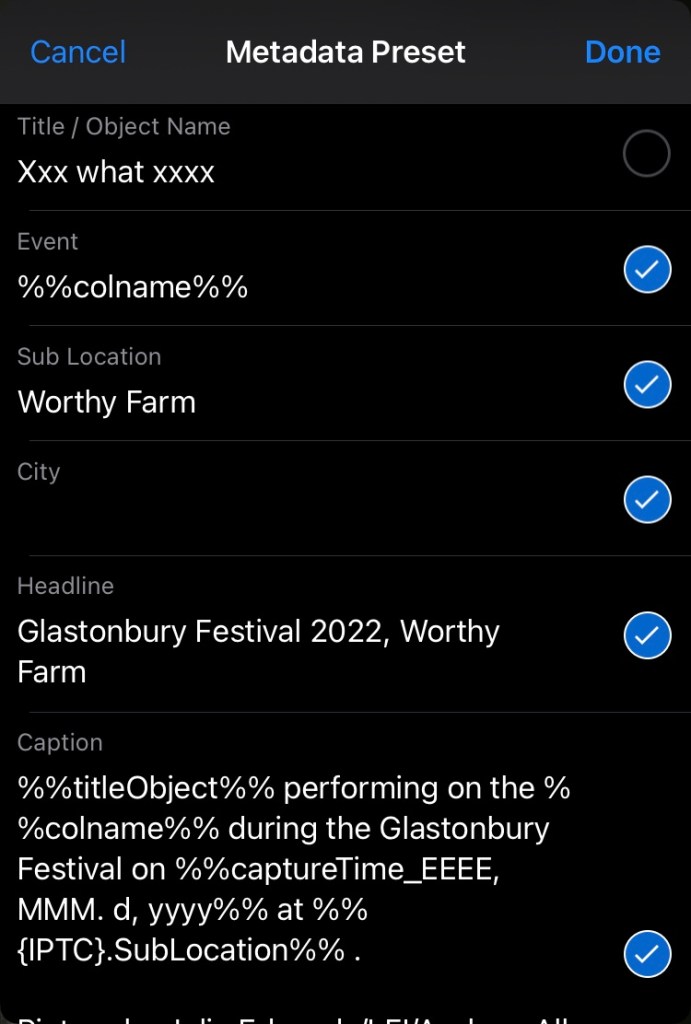
First a basic preset of mine (from a Kermode 3D show) where the caption is automatically built from the Title (as added in Lightroom) and a number of other fields. For this show I know the location and all the other details. The only things that change are the subject/person. In the image (Title) and the Date.
The blue circle tick to the right indicates wether the field is applied in the preset, so as we are using the title field from Lightroom this is unticked next to the Title/Object. Notice the %%titleObject%% – this is a variable .

There are far fewer in ShutterSnitch. They may be accessed from the tool hi-lighted above. Below is a typical preset driven by the Title/Object Name field with the date automatically added also.

And the next example is the template I used at Glastonbury this year. Note. That I have brought the %%colname%% variable into play (Collection name). This gave me the simple solution for ever changing locations (or events), multiple image collections, one for each stage or location, sending images from Lightroom direct into the correct collection building a complex caption.
Hint: As we are driving the Title / Object Name from Lightroom, all of the above preset(s) could be applied to all images when selected and a quick check as you flick through will reveal all of the fields set. Alternatively they could be applied through an action automatically as the image(s) arrive from Lightroom (hint!)

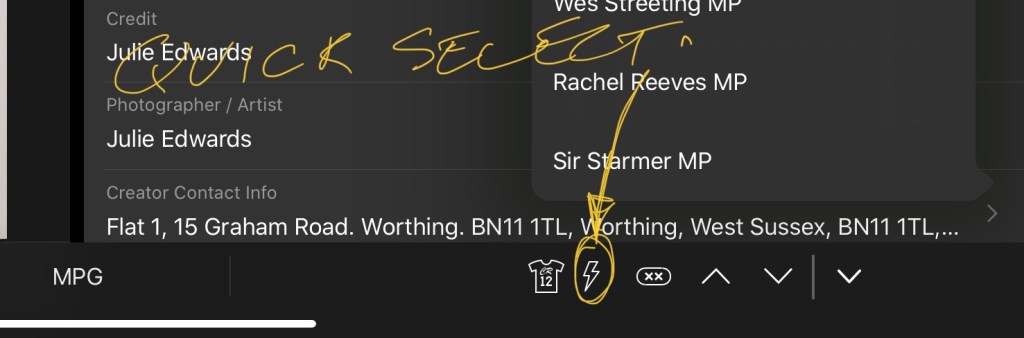
Once the preset is created, other tools are available in the editor. Quick select strings (which are field sensitive, so create them in the Title field if that is where you plan to insert them) may be created and selected.
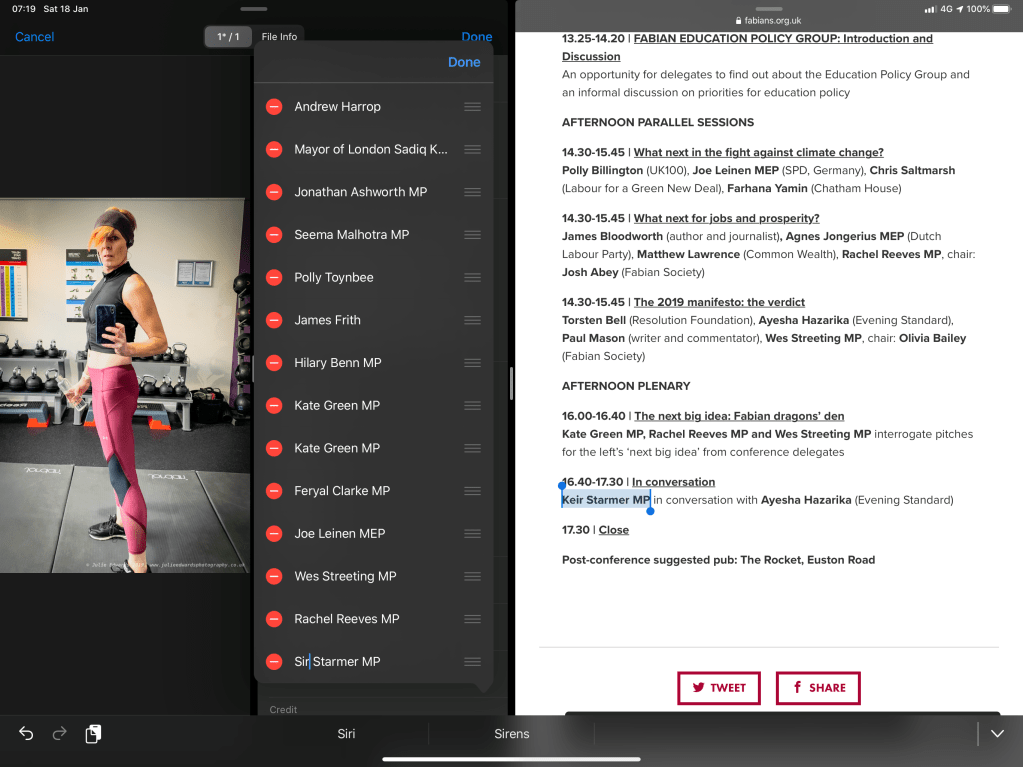
This enables a list to be built, maybe copying and pasting from a website before the event
The final options are Shortcodes.

Press and hold to edit the available lists. Creating new Sets and editing are fairly straightforward.
In use Shortcodes are slightly less usable than in Photomechanic as after entering the code (however many letters you use), the Icon (tee-shirt) needs a quick click for the software to expand the code to it’s full length. Shortcodes do, however save on spelling errors and incorrectly titled subjects.
Once the metadata is added the images can be sent (most likely using FTP ). The next post will look at configuring the FTP before we start putting it all together in an action that automates the whole process.
More Soon. As ever – let me know what you think.

Very informative. Keep up the great work.
LikeLike