Julie Edwards-X

The ramblings of a Professional Press & Editorial Photographer using Fujiflim Cameras & working mobile.

PAGES:

  • About
  • iPad Software
  • IPad Workflow Posts
  • Regular Kit List

LATEST POSTS:

  • 2023 Film Independant Spirit Awards
  • Tip tap tappy – Writing on the iPad
  • X-H2S Firmware Update Ver.3.00
  • Hollywood leading up to the 95th OSCARS
  • Berlin – Berlinale

CATEGORIES :

  • Kit Review
  • Mobile Workflow
  • Settings
  • theBPPA
  • Thoughts
  • Uncategorized
  • Working
Log in

Tag Archives for Metadata

Syncing to Lightroom Classic. Workflow pt.8

Pt 7 left us copying images from shuttersnitch via finder to the desktop machine which I mentioned, i just archive and do not store in my Lightroom library. I prefer to synchronise the images from the mobile platform to the library using the Adobe sync mechanism.

Lightroom Classic Sync settings

All of my images are synced to a single folder (on a drive that is backed up every 6 hours). I prefer not to use the date formatted sub folders as this leads to an awful lot of folders containing my iPhone images (as I use the Lightroom app on my phone to take selfies, snaps and stock images).

The images are synchronised in to collections that match the name of the album that was created on the iPad. I then use this collection as the name of a folder I create manually and move the images to that folder.

As you would expect from the earlier posts, with the synchronised images only containing the title field in the metadata, I always complete the rest of the information so I can locate any image in the future. I use two plugins in my lightroom to help me manage the metadata.

Metadata view presets.

Although the latest version of Lightroom allows the display of the metadata panel to be customised, I still prefer to use the Metadata preset builder from Jeffrey Friedl. My custom view is shown below. the key is it allows easy creation of a view with larger fields so the whole caption can be read.

Custom Metadata View

The first stage is to select all of the images in the collection. All of the following tasks are supplied to all the images. First I apply my copyright preset. Presets can be configured to only affect specific fields. See Below.

Only ticked fields are added to the image
Add preset
To all the selected images

Once the copyright is added. I ensure auto-sync is enabled (in grid view) and add the data into all of the fields in the panel (hence the custom view) except the caption. This is because the caption varies according to the title.

Only the caption is empty

Now I use another plugin; J B Search and Replace . This plugin has a powerful Caption Builder that is very similar to the way Photomechanic works.

J B Search and Replace
Selecting the Search and Replace tool
The Caption Builder

The key is to build up the caption using a combination of free text and other metadata fields from the image(s)

A basic preset which builds the caption from the title, event name, location and date.
Almost all of the fields are available.

With all the images selected the Write Caption Field button runs through each of the images building the relevant caption. Photomechanic without doubt is one of the fastest captioning tools on the desktop if setup correctly. Using this tool is very similar, helping to caption images in Lightroom post event.

The final metadata task is to add the Keywords . I use a combination of Structured Keywords for common items plus a set I have devised myself for the sort of events I photograph. I have created Keyword Sets to speed this up.

The next post (the final post of this workflow series) will cover how I manage to keep on top of which images I have not yet edited or captioned… (with yet another plugin)

I look forward to your comments on this post as there are probably quite a few lightroom users are unaware of help that plugins can provide to this already powerful system.

Until the next post…..

J x

August 1, 2022 by Julie Edwards Categories: Mobile Workflow, Settings, Working | Tags: iPAD, iPad Pro, lightroom, Lightroom mobile, lightroom plugin, Metadata, photography, plugin, settings, shuttersnitch, Workflow | Leave a comment

iPad Workflow Part 3 : Exporting

This post is a much shorter post than the previous one, just looking at the options for getting the edited and titled images from part 2 out of Lightroom mobile and on to somewhere else.

Although commonly known as the share icon in iPad parlance this icon in the top right of the screen essentially provides the export functions of Lightroom (but with far more limited options).

Each of the 4 destinations I have hi-lighted above have pre-set settings that are independent from one another.

First lets look at my Export to Camera Roll settings, you can see i write a jpg with the size limited to 1500px on the longest edge. If you know Lightroom well you will know you rarely need to export images at 100% quality. The Camera Roll exports also include my text watermark (nothing fancy, settings shown below).

The thing about the watermark is that unlike the desktop version of the application, this watermark is shared across all of the export options in all of the cloud based applications. It can be disabled in some exports and enabled in others but when it is enabled, it will always point to the same single watermark.

The final set of options are as follows , providing the final set of expected controls for an exported image. In all exports I expect we would all include all metadata and as far as File Naming is concerned, I felt a combination of the date along with the original file name (that from the camera) is the safest option for a unique name.

My Exports to Camera Roll are only really used for my posts to social media. When sending images out to press or clients, the Share To option is the one is use with settings that corresponds to this use.

Obviously larger files and no watermark. (My Export to Files settings mimic these options just in case I which to use iCloud, Dropbox or my ZoHo WorkDrive to deliver images to a client, all of which are accessible from the iPad Files app).

Finally if editing in another application, the full image size and quality should be used.

Having set the options up, the best way to export a number of images in one go is to be in Grid View (as with the desktop app, use the G shortcut) and long select (press and hold) a single image. The app will switch to multi-select mode. Tap each image to send or, select all of the images by using the icon in the upper left (circled in red). Note in this mode, the Share (Export) icon has moved to the bottoms of the screen.

Selecting the Share To option following the export, the following options appear (on my iPad, your apps and settings may differ)

If your required option for the image is not listed (or is too far down the order), scroll to the bottom of the list and Edit Actions to control the standard list that always appears.

The key here for the next step is the Copy to ShutterSnitch as this is the action that sends a group of images as opposed to a single image to the tool I use to complete the caption/metadata and send on to the client/papers.

That however is the subject of the next post or two..

I hope you found this post on exporting images from Lightroom useful. please let me know your comments, thoughts or questions.

Until next time…

July 11, 2022 by Julie Edwards Categories: Mobile Workflow, Settings, Working | Tags: editing, iPAD, iPad Pro, iPadPro, lightroom, Lightroom mobile, Metadata, photography, press Photography, sending, settings, shuttersnitch, Workflow | 5 Comments

ShutterSnitch

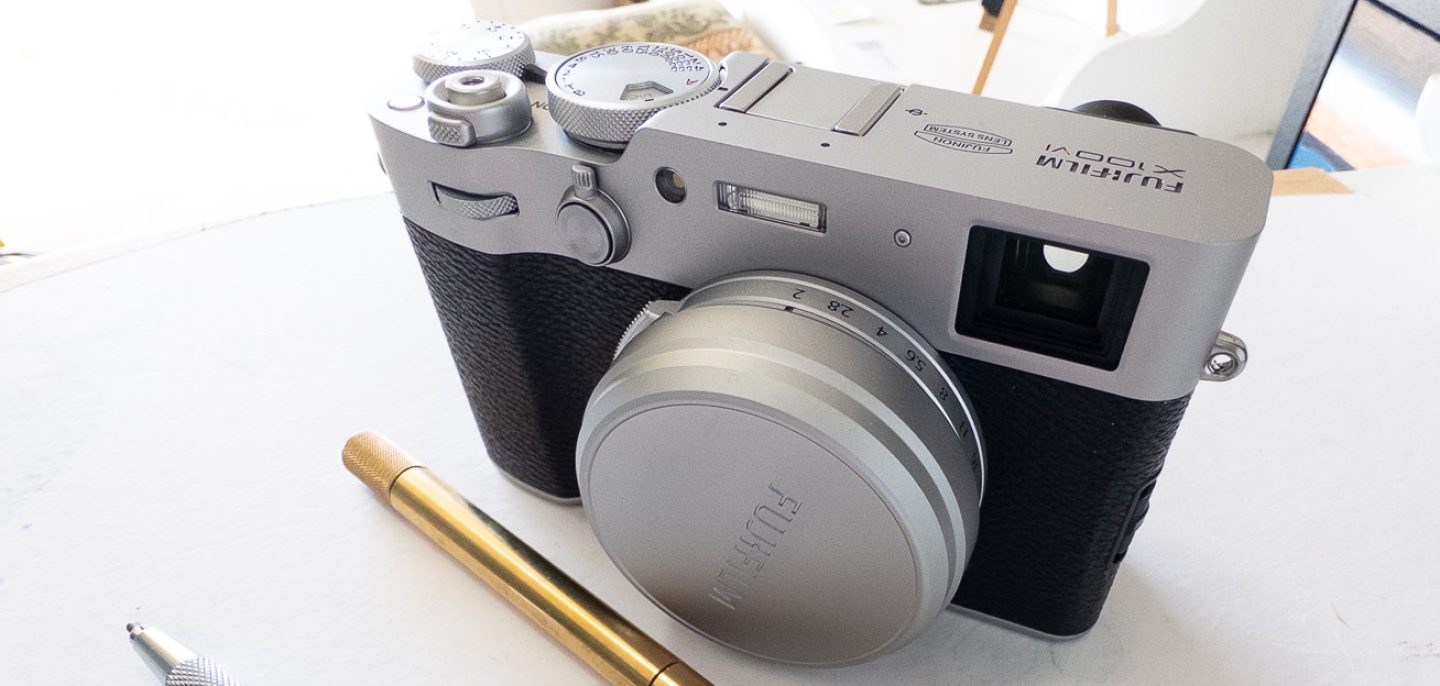
Due to an overwhelming number of requests, here is more detailed guide of using ShutterSnitch with Fujifilm X-Series Cameras.

This is probably my most information-laden post to date. There is a lot of information here as it details configuration of the camera and software taking the image from the camera to the client via ShutterSnitch.

I am going to ignore SD card import as when use the SD Card I tend to move the images though Lightroom Mobile before transmitting via ShutterSnitch (so joining this workflow at the point of adding the metadata and transmitting).

Previously ShutterSnitch was heavily based on Actions (a series of actions carried out on an image either upon receipt of the image or by user action). With the addition of the Image Adjustment and Metadata Editing add-ons (accessible from the options menu), my use of the software has shifted slightly.

‘Snitch can connect to the x-Series cameras to receive images exactly the same way as the Fuji app, with both Push from Camera and Browse and Download both being available via the Camera WiFi button. In addition the app can also serve as a tether server, receiving images directly from the camera as they are shot. As I have covered the standard WiFi functionality in the past here, I will step through the tether setup quickly.

In ShutterSnitch, ensure support for Fujifilm WiFi is enabled, accepting only jpgs.

Whilst in the settings, it may also be a good time to look at your jpg compression settings (for resizing & sending).

Next to set up the camera. Tethering is where the iPad really works. Enable the hotspot and connect the camera to this hotspot through the connection settings. It is not the simplest and will probably require a couple of attempts (apologies for the poor images – they were taken with the phone whilst on a train):

Note in the image above how the Resize for SmartPhone 3M is turned off. This setting has been responsible for a great many queries on “my images are small” (I’ll be honest, I have also sent smaller than planned images to Picture Desks also).

To connect to the iPad you will need to use the Manual Setup option, waiting for the Camara to find the Wireless HotSpot.

Once setup it is easy to flip between the normal mode of saving images to the card (PC Shoot Mode – Off) , or tethered to the iPad (PC Shoot Mode – Wireless Fixed). Remember, the app will only connect to a camera when in a Collection. The small LED on the camera will indicate the state of the tether:

With the app in a collection and PC Shoot Mode set, the LED should flash red, then amber as it looked for the app, finally flashing Green when ready.

Note: The camera will switch to a single shot mode when tethering – CL & CH modes are not supported.

All of the information I have seen suggest that in Tethered mode all images are sent to the host application and none remain on the card. My findings point to that being true on an X-T2 with no battery grip. However (and this is a key feature for me), with a battery grip and the camera sent to record both RAW & JPG with Save Data Setup set to RAW / JPEG (ie. RAW images to slot 1 and JPG to slot 2), the JPG images are sent to the iPAD whilst the RAW images remain on card 1. This enables me to do a quick edit and send from the JPG’s on location, with the safety of being to go back over the RAW images when I have time for a more considered edit at the office.

Finally the images are on their way to ShutterSnitch but what now?

This is where Actions may first be applied. Before you enter your collection, from the Options menu, Select Actions and decide what the app will do with every image as it receives it.

My workflow here assigns basic Metadata for the images I’m shooting. I create my basic metadata in PhotoMechanic on my Mac, saving it to a transfer folder on Dropbox. Moving to Dropbox on the iPad, select the relevant file and then the Export option picking Copy to ShutterSnitch (you may need to enable that in the sharing … More )

And create an Update Metadata Action (note can also save as a Metadata Editor Preset for later):

Title the Action, double check the Metadata and back to Tasks to save.

Moving the pointer to this task will ensure it is run on every image as recieved.

As stated above, switch to a collection and the camera (in tether mode) should find the app. If using the traditional WiFi connection, Start the WiFi on the camera and connect the iPad to the camera’s hotspot before moving to the collection – as you move you will be prompted wether to Browse and Download or Push from Camera.

Images will appear, with Jump to New Images enabled (button at the right end of the filmstrip), the latest image will show. The description may or may not be displayed depending on a setting in the main options.

Once loaded the image may be edited with the Image Adjustments add-in, accessed from the top title bar.

Most of the adjustments are obvious- one interesting aspect is the crop/zoom at the top. The usual iOS interface of using 2 fingers to zoom and pan the image work here – if in zoom mode, it is the standard zooming in and out to check the image, in crop mode, the image is being cropped as displayed. The aspect ratio may be selected from the lower right.

A useful shortcut when cropping is the 2-finger double-tap – this will rotate the image back straight (well as straight as you took it), i.e. zero rotation, leaving the zoom as it is.

The Metadata add-in is also selected from the Titlebar.

Again, this is mostly self evident. The buttons under the image enable moving from image to image as well as filtering the images and tagging the current.

The buttons under the data are:

  • Apply Preset (either created earlier as discussed as above or from the current data)
  • Choose which fields should be displayed and in which order (move the most import data to the top).
  • Revert to original Metadata.
  • Copy MetaData
  • Paste Metadata

If I am working on a very urgent job, I send images individually as I edit them and I have a specific action for this. Otherwise I send in a batch, using Colour Tags and filters to display my selection for sending.

Pressing the standard iOS share button on the title bar enables the selection of images for the action.

One of my favorite features here is the select all following option, I select the 1st image of my set to send, then press the select all following to select the the rest.

Pressing the actions (cog) icon on the titlebar displays the available actions. The key here is just to press the action you need, DO NOT move the pointer as this will select the action to be run upon image import!

I have a number of export actions which work in different ways depending on the recipient.

They are all similar, renaming the file using the collection name and then sending to a particular outlet.

Note the Pre-Process option under the Export Location, this enables the resizing of images to suit the use (compression settings are in the main options as mentioned above).

As well as the image delivery action for clients, you will see I have archiveactions which copy the images to a folder in dropbox for me to add to my main Lightroom catalog back in the office.

While the editing and captioning tools are not as comprehensive as say the combination of PhotoMechanic and Lightroom/Photoshop , this workflow does provide a very workable and light-weight way to process and transmit images very quickly.

As ever, I hope it makes sense. Any question, please comment below 🙂

The next posts will feature my thoughts on the 27mm Pancake lens on both the X-T1 and X-T2 and long term thoughts on the 100-400 with the 1.4 converter.

J x

July 6, 2018 by Julie Edwards Categories: Mobile Workflow, Settings, Working | Tags: Captioning IOS, Fuji, Fujifilm, iOS 11, iPAD, iPad Pro, Lightroom mobile, live, Metadata, mirrorless, photography, Professional Photographer., sending, settings, shuttersnitch, WiFi, X-T2, XMP | 7 Comments

Post navigation

INSTAGRAM:

Very sad to read of the passing of Composer Christopher Gunning. I worked with him many times (he was the first employ me for an Orchestral Recording Session). Wonderful company with many entertaining "in the day" stories, he will remain Anytime, Anyplace, Anywhere forever #rip Rege-Jean Page photographed at the DUNGEONS & DRAGONS: HONOUR AMONG THIEVES PREMIER at Cineworld Leicester Square in London, UK on 23 March 2023. Chris Pine photographed at the DUNGEONS & DRAGONS: HONOUR AMONG THIEVES PREMIER at Cineworld Leicester Square in London, UK on 23 March 2023. Michelle Rodriguez photographed at the DUNGEONS & DRAGONS: HONOUR AMONG THIEVES PREMIER at Cineworld Leicester Square in London, UK on 23 March 2023. Day 2 of my work at the #ukcacon23 - so inspirational on sustainably. #ukcacon23 - day 1 (yesterday) - opening .. Phil Clapp of @Cinema_UK “bounds” on stage to open the conference, which focuses on Sustainability this year. After a night and a half (bloody time zones) in my own bed it's up to #London another overnight with 2 days at the #picturehousecentral & #ukcacan23 My last meal out in LA was at @canters_deli This trip I have been wandering quite a bit, mostly carrying the #gfx50r with #63mm for street and landscape views…

TWEETS:

Tweets by j_edwards_photo

FOLLOW THIS BLOG:

Follow Julie Edwards-X on WordPress.com
Web Analytics Made Easy - Statcounter
Website Powered by WordPress.com.
  • Follow Following
    • Julie Edwards-X
    • Join 145 other followers
    • Already have a WordPress.com account? Log in now.
    • Julie Edwards-X
    • Customize
    • Follow Following
    • Sign up
    • Log in
    • Report this content
    • View site in Reader
    • Manage subscriptions
    • Collapse this bar
 

Loading Comments...